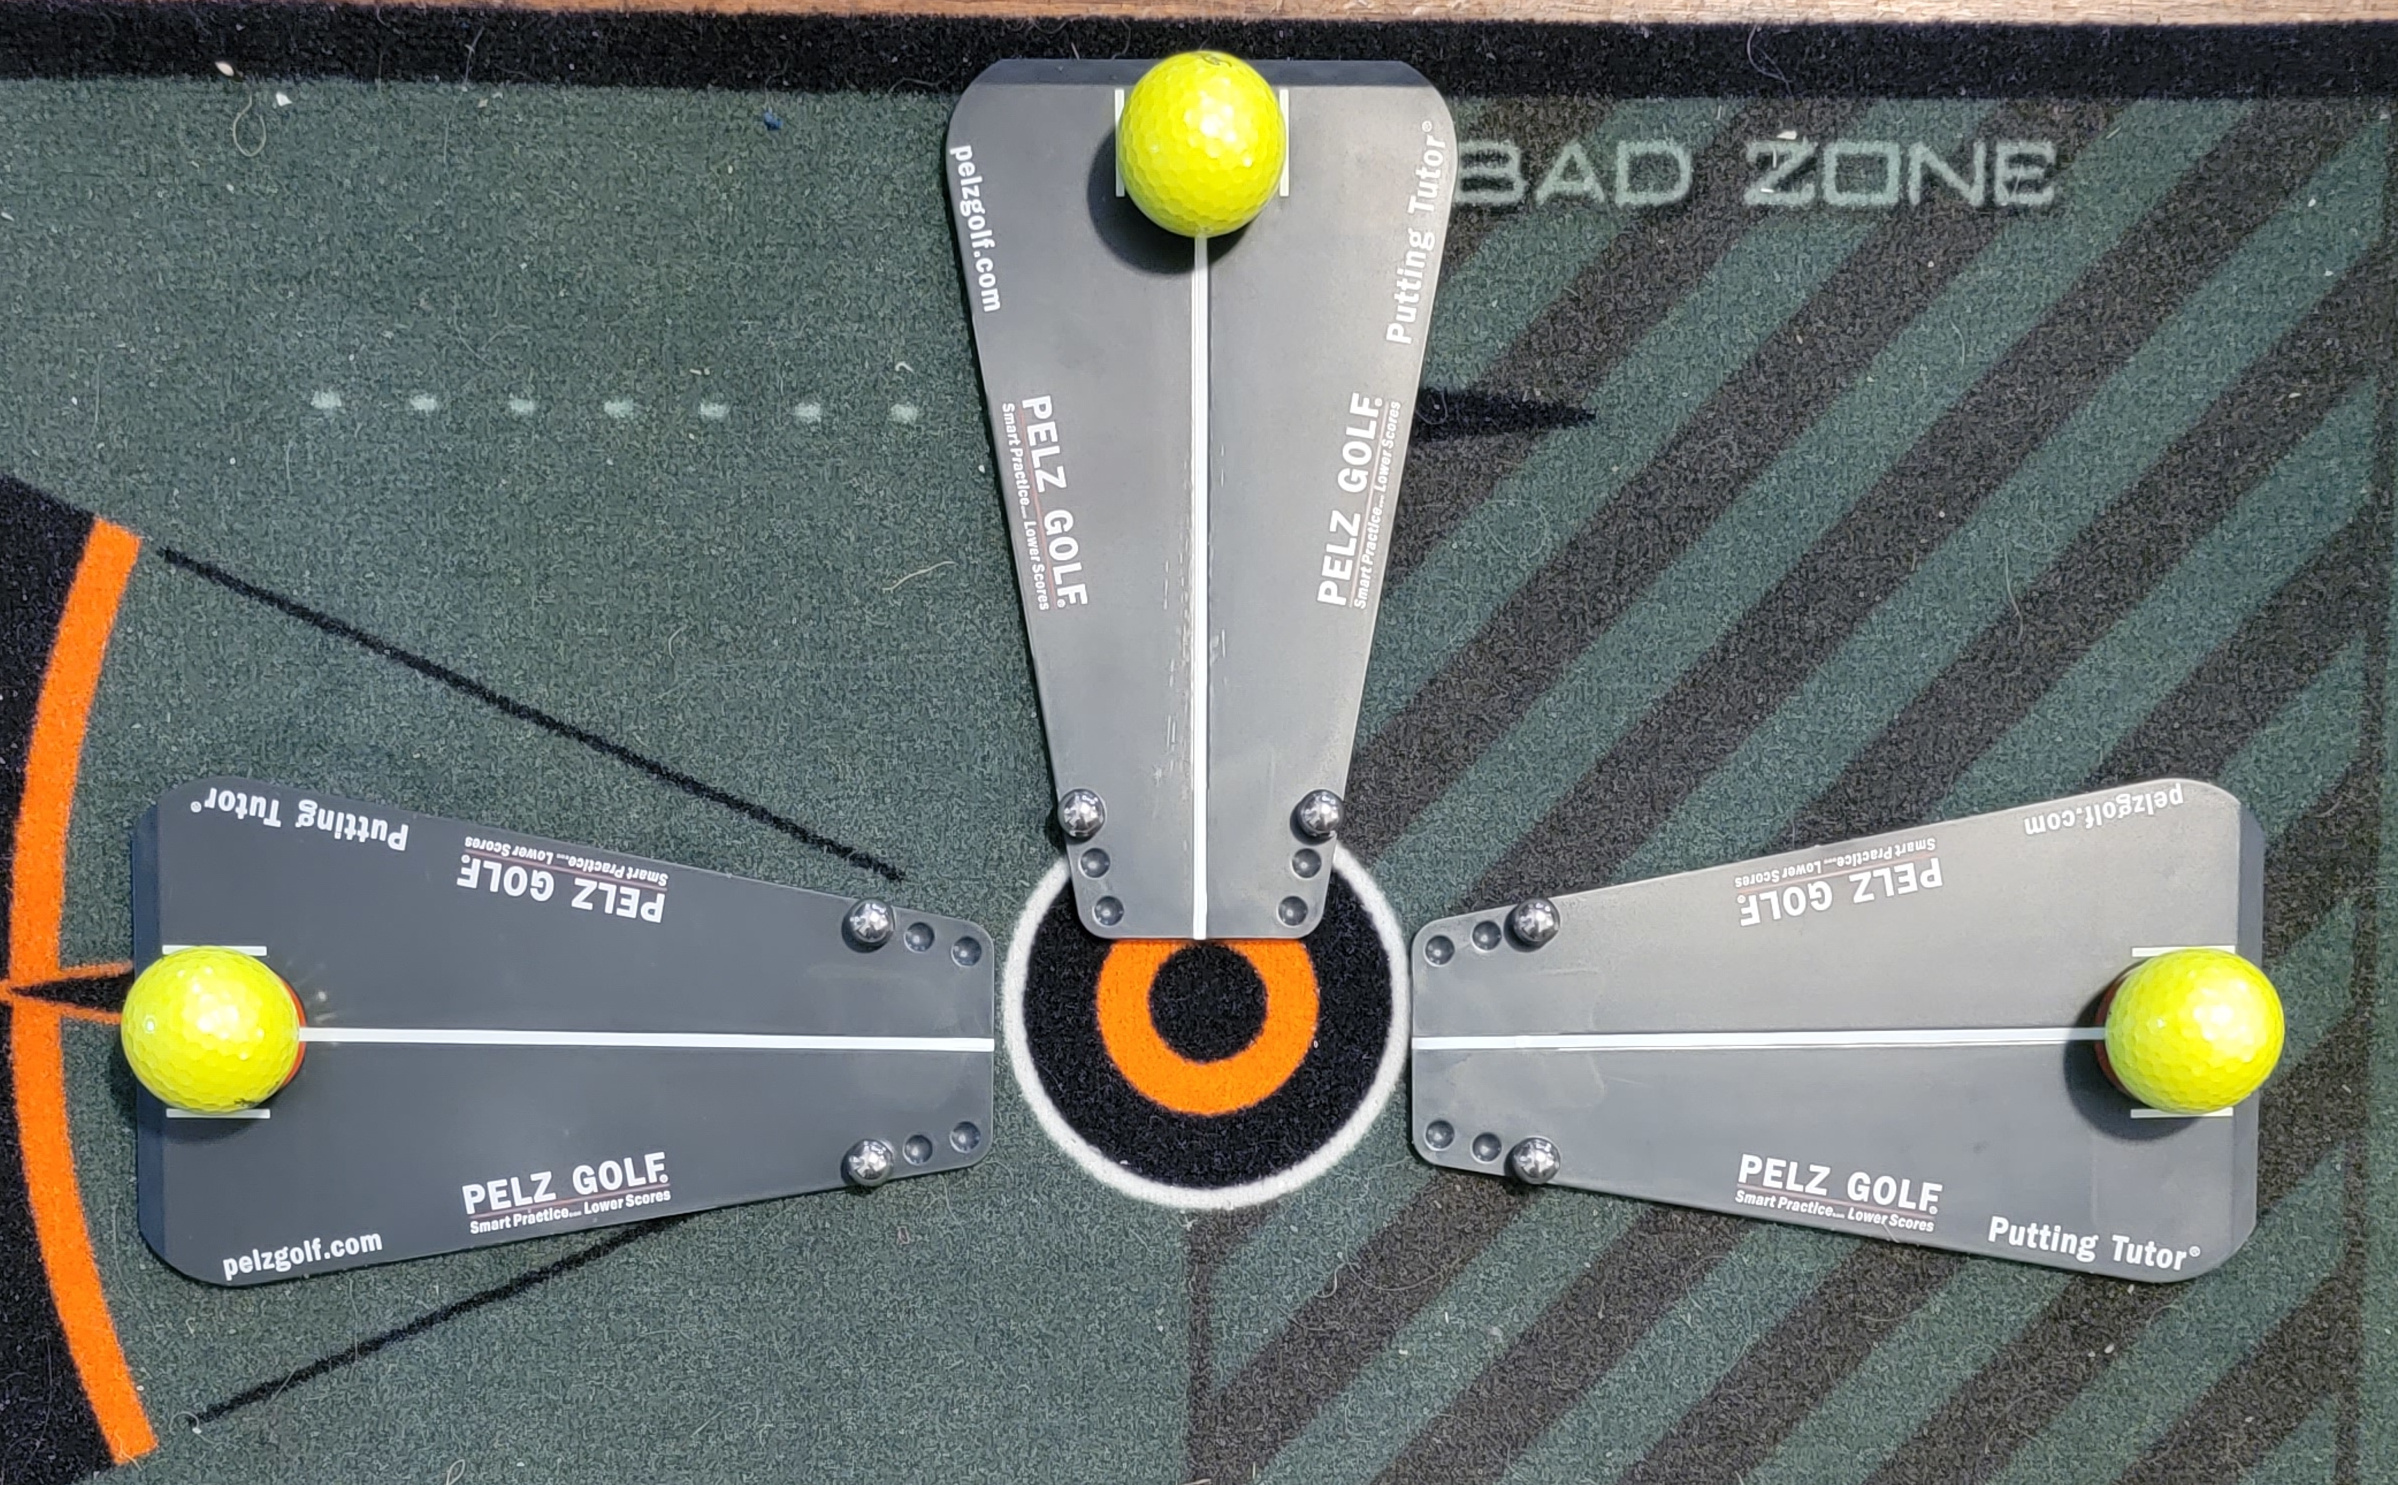
The Dave Pelz Putting Tutor is a valuable tool for squaring your putter face at setup, for green reading and putting mechanics. The question is why do I use 3 of them?
The answer is: Use the putting tutor on left to right breaks, right to left breaks and downhill putts. These are putts that need to start out square to your aim line and usually slow down as they approach the hole causing them to break more. Alignment and pace are critical.
The set Includes Dave Pelz’s Putting Tutor, four Steel Marbles, and a Carrying Case. You square your putter up to the back of it at setup. If you hit the ball offline the ball will knock the steel marbles off the putting tutor. ★★★★★
It provides immediate feedback. It also helps with green reading as you need to line it up prior to make putts.

Depending on skill level
Why do I use it on downhill putts and not uphill putts?
It’s imperative to keep the ball online going downhill. Your margin for error is very small and the ball tends to roll slower giving it a chance to wander off line.
Putting uphill allows you to strike the putt solidly avoiding break do to the putt slowing down. I think using 4 of these is overkill.
Video
The Power of Three Video Note: This includes an uphill putt and is by Dave Pelz. The fact is you can arrange them any way you think is necessary.
The Bottom Line
If you want to use a great alignment aid, and don’t want to go broke buying one, I’d suggest the Pelz Putting Tutor.
In addition, for a few dollars more I’d buy the Pelz Elevated Aim Line.
Whether you are practicing putting or practicing before a round keep both in your bag.
In my case, I have lasers and all kinds of stuff. I would not think of bringing everything to the course for use before a round. I like to keep things simple before I play.
If fact, I’m sure everyone has seen Tiger Woods using just two golf tees during practice. I like that idea before a round.
I practice alignment and pace before a round. Mostly to get used to the speed of the greens.
