
One of the most significant aspects of a golf course is the uniformity of its putting greens. The Stimpmeter is a simple, accurate device to measure green speed.
Why do you need to know the stimp reading of a putting surface? To gauge the pace of your putts.
My regular course greens have a stimp reading of between 9.5 to 10. I went to play on another course that had 11 stimp greens and the ball went much farther than I anticipated.
It is good to check it. I usually ask at the pro shop. I also measure with The Perfect Putter which has a drop location marked on it for measuring stimp.
Let’s take a look at how to make one for yourself. You can do it with things you most likely already have.
The important stimp meter information that you need to know:
- Drop the ball from 30 inches up the stimp meter
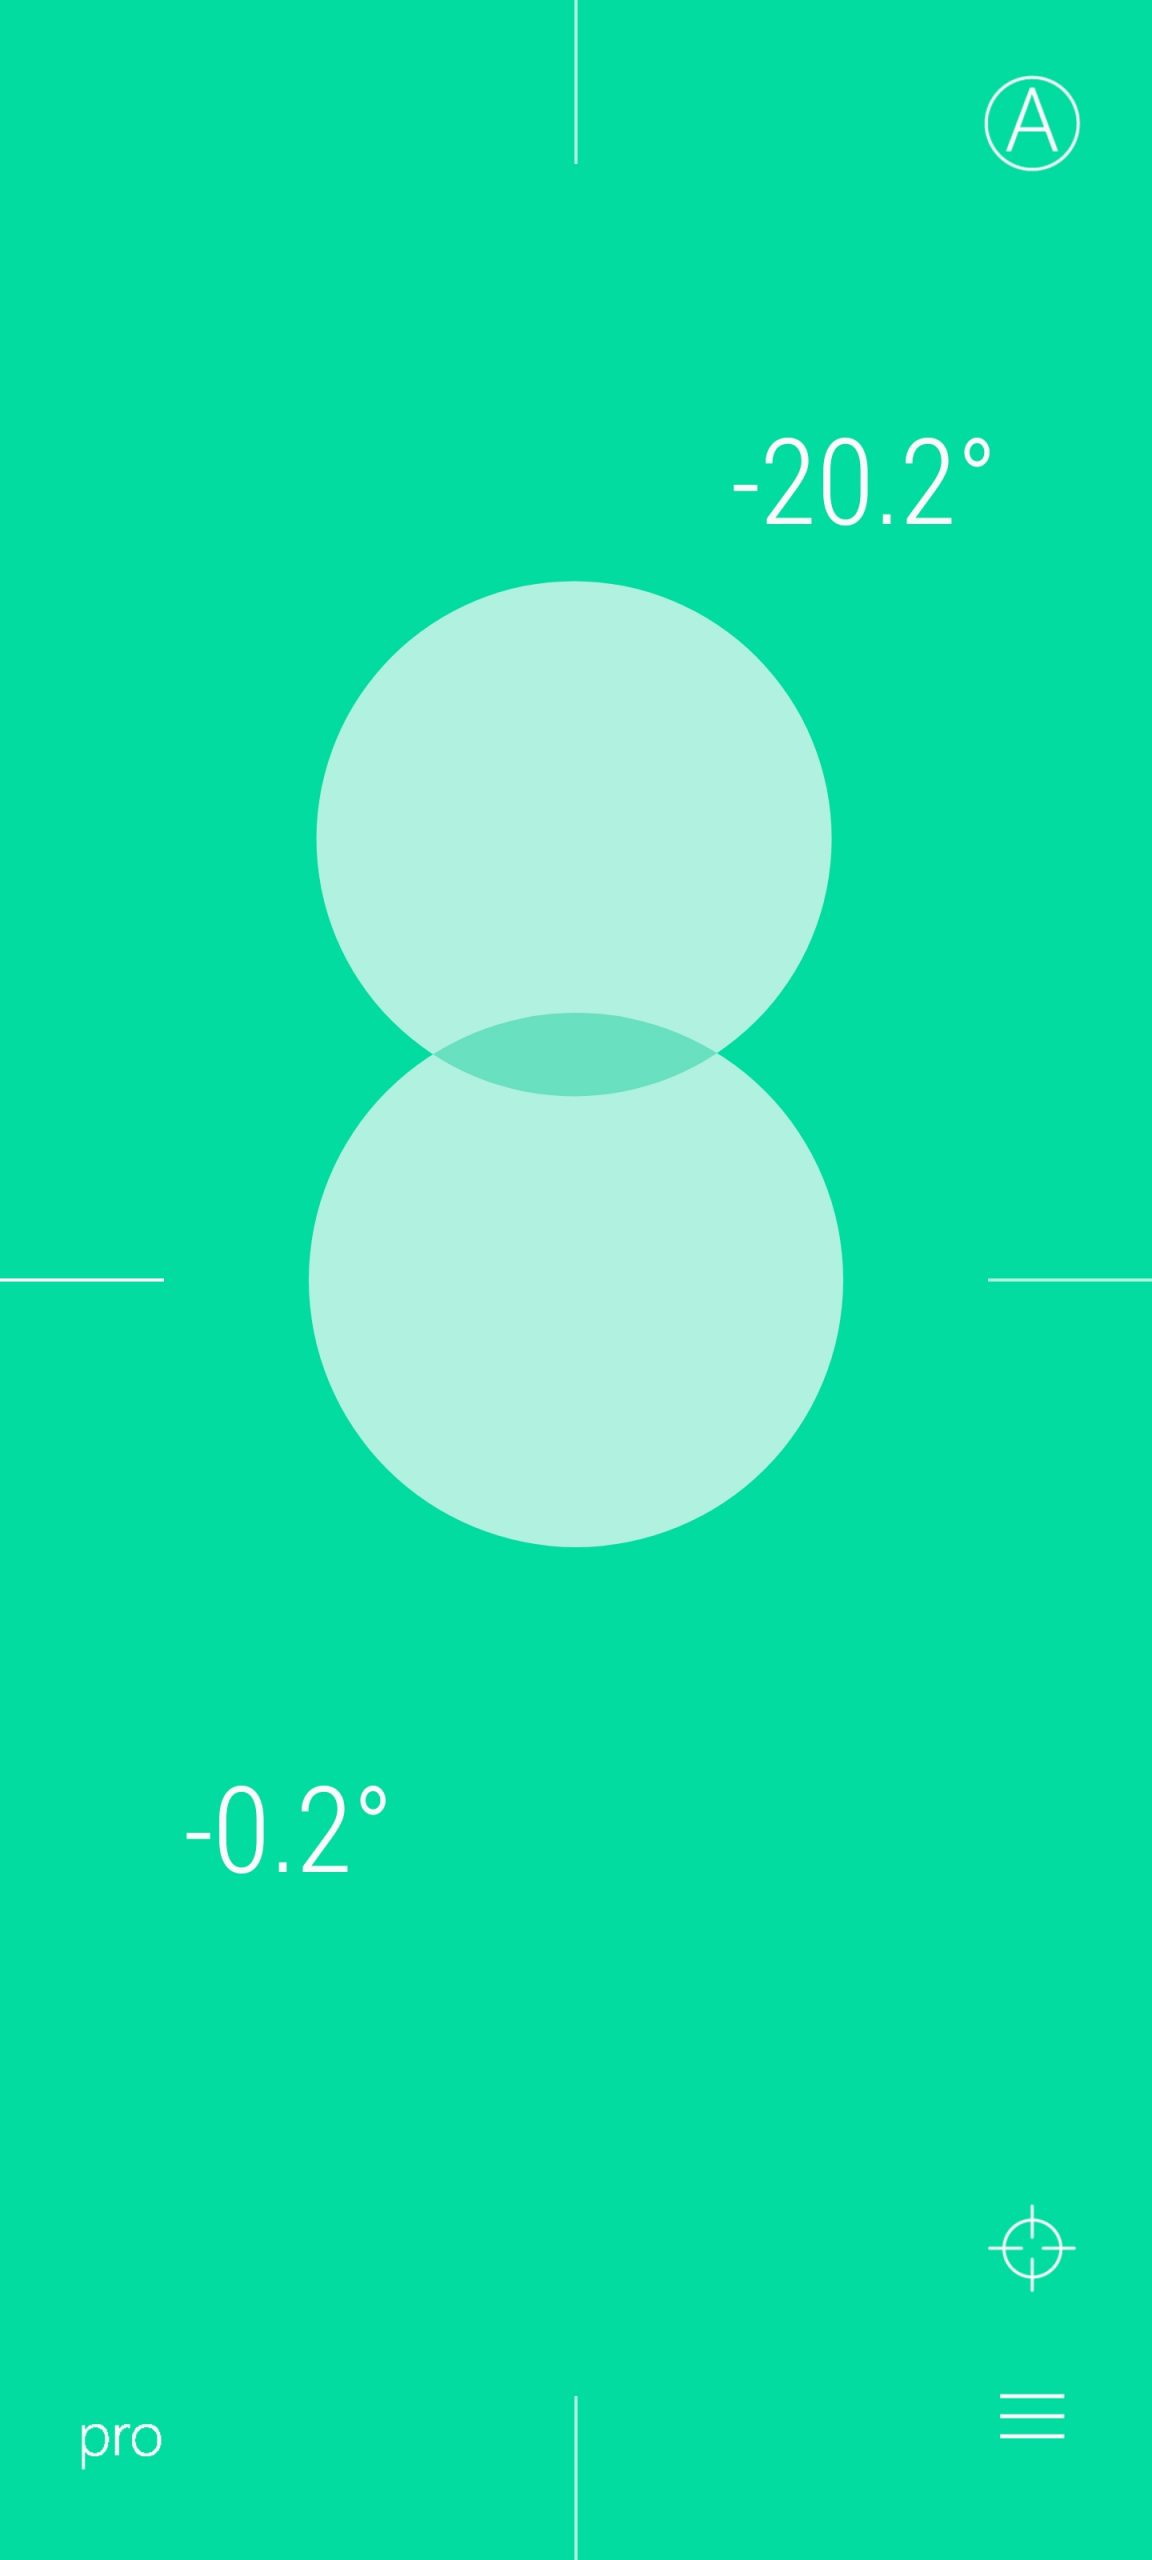
- The angle of the Stimpmeter needs to be at 20 degrees
- Held at 20 degrees, the 30 inch mark is approximately 10 1/4 inches off the ground
Math: 30 inches x sine (20 degrees) = 10.2606043 inches – 10 1/4 should be close enough.
USGA Stimpmeter introduction booklet PDF format
What do they cost if you don’t make one? Just a quick look online today showed prices from around $40 to $299.
It’s really about how many times you are going to use a stimpmeter. Most people would use it once in awhile at their home course. If you travel and play a lot of courses, maybe buying one is a better option.
How to make one yourself
I believe you can make a simple yet effective stimpmeter using alignment rods.
This is what I used to try it.
- Two alignment rods that were 48 inches long (Must be over 30 inches)
- A bubble level / angle finder app
- A permanent black marker
- A tape measure
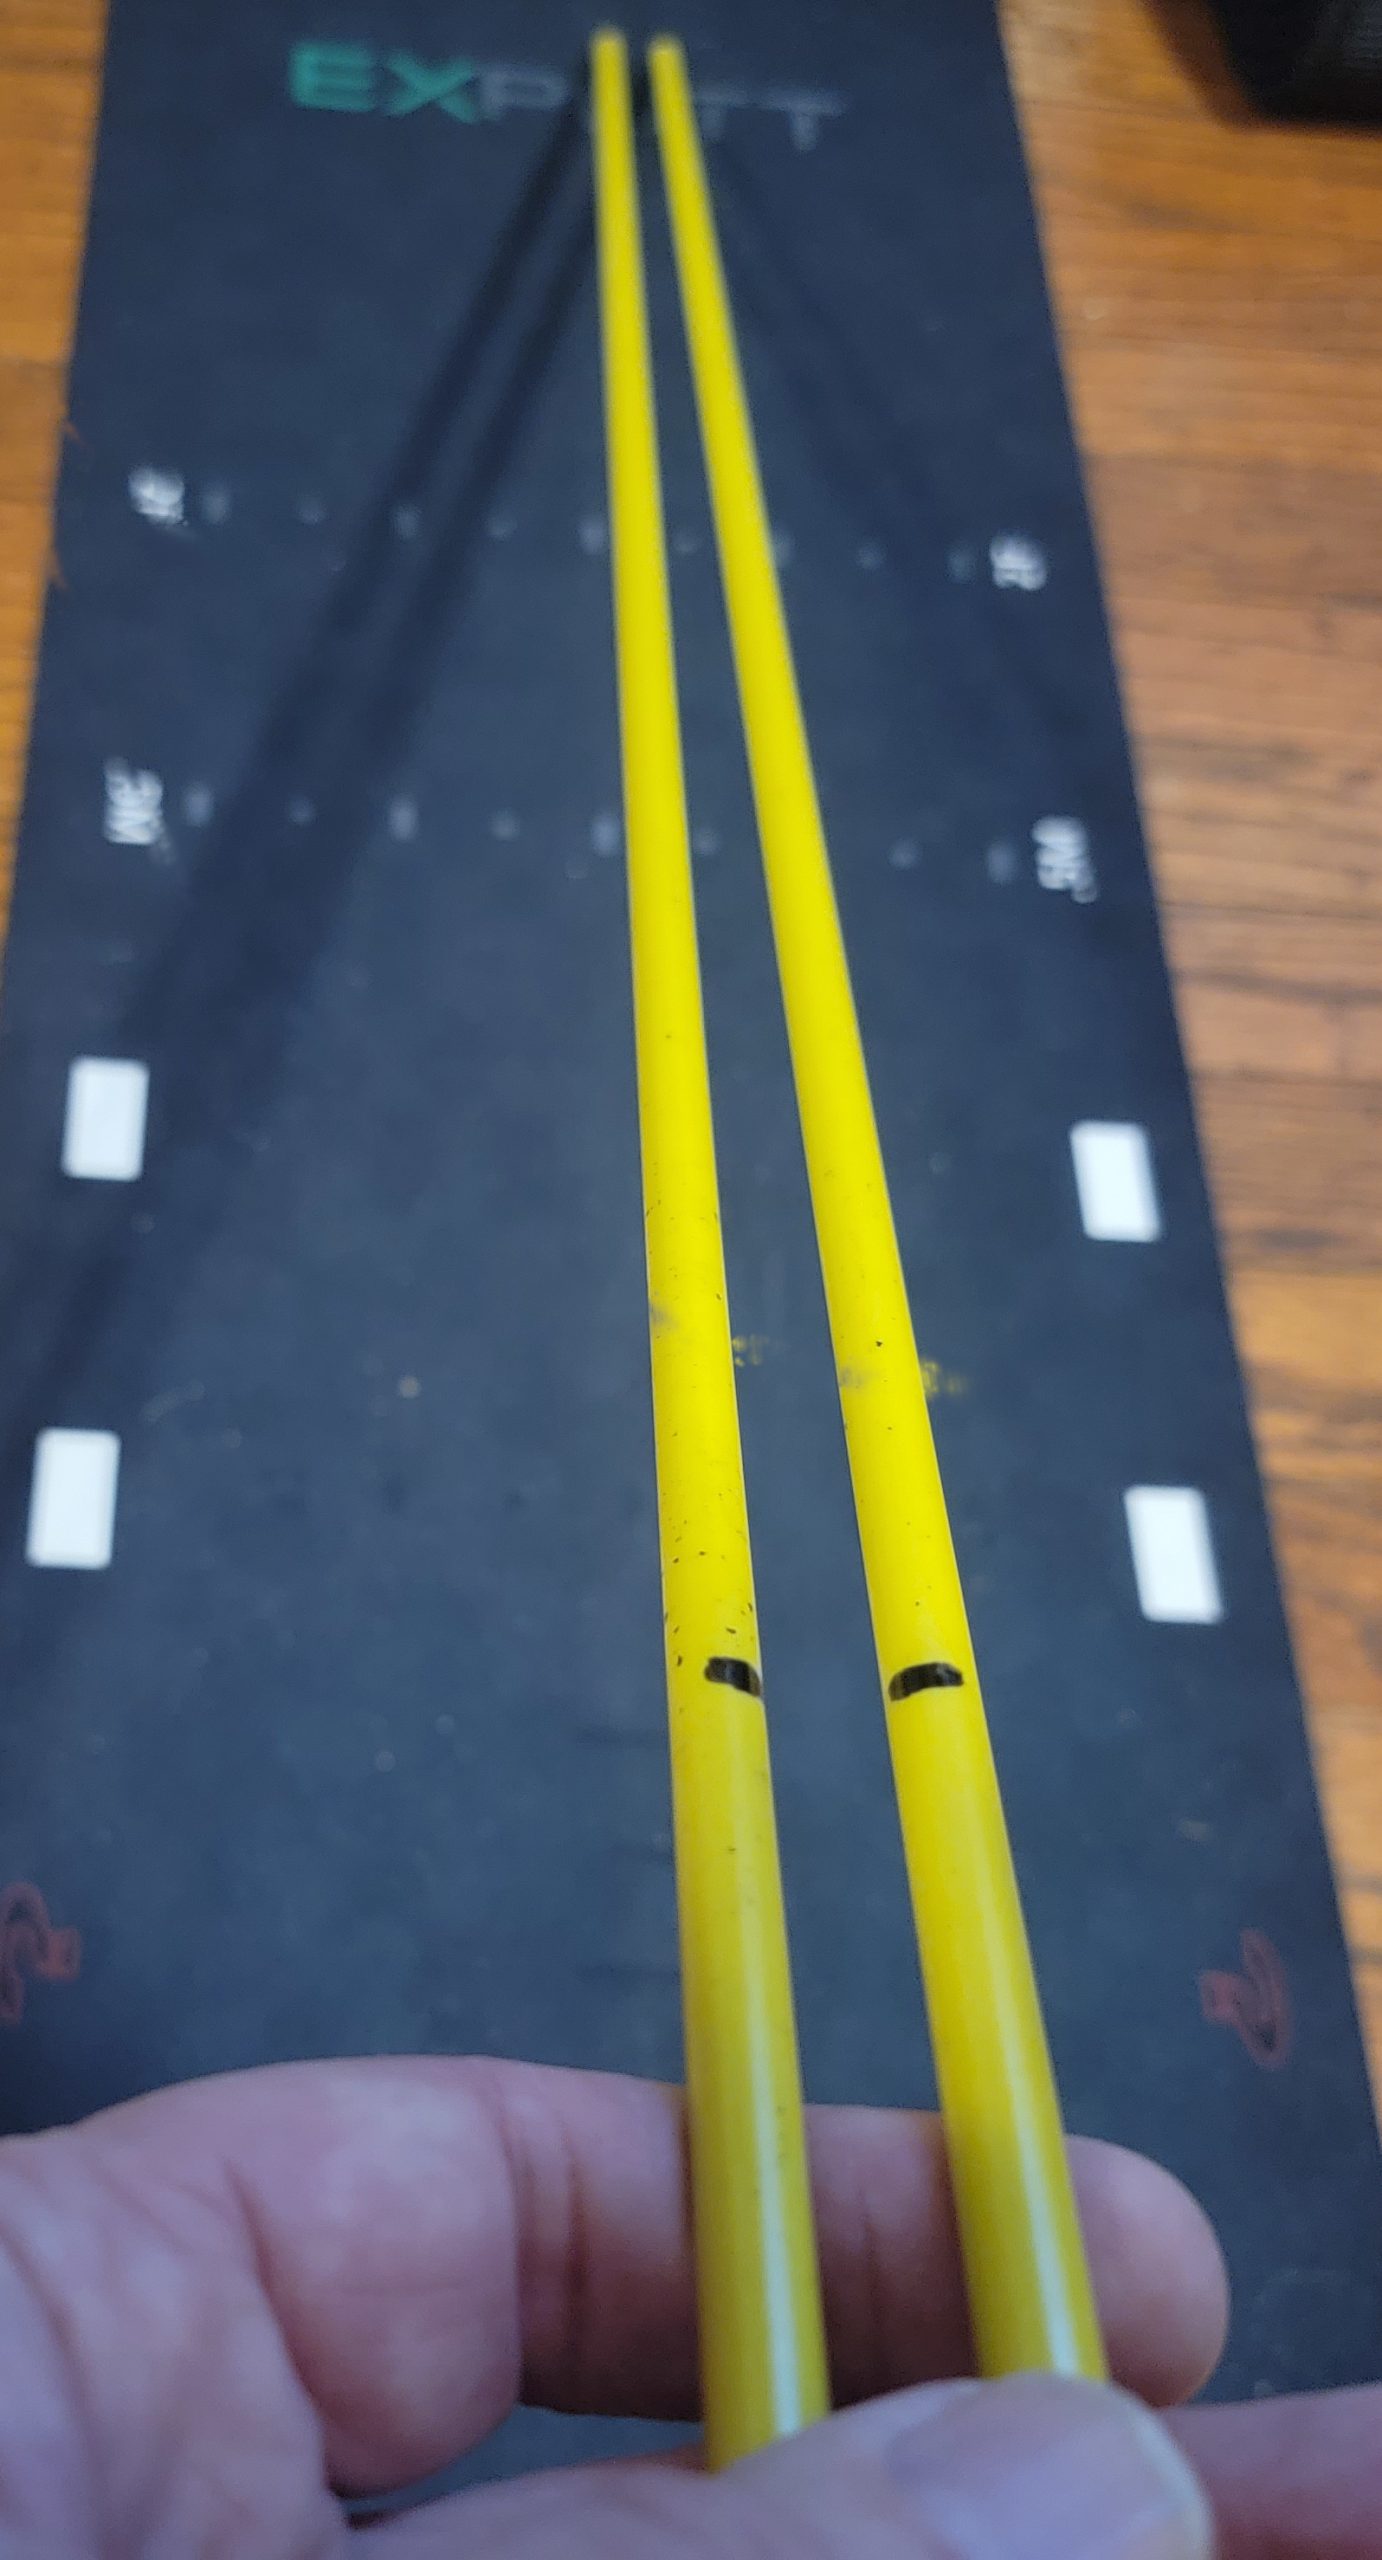
I took two alignment rods and laid them down side by side.
Note: You need to remove the rubber ends on one end to make the ball roll off the end with out hitting anything.
Lay the alignment rods next to each other with the ends square to each other so you can mark them both at the same time.
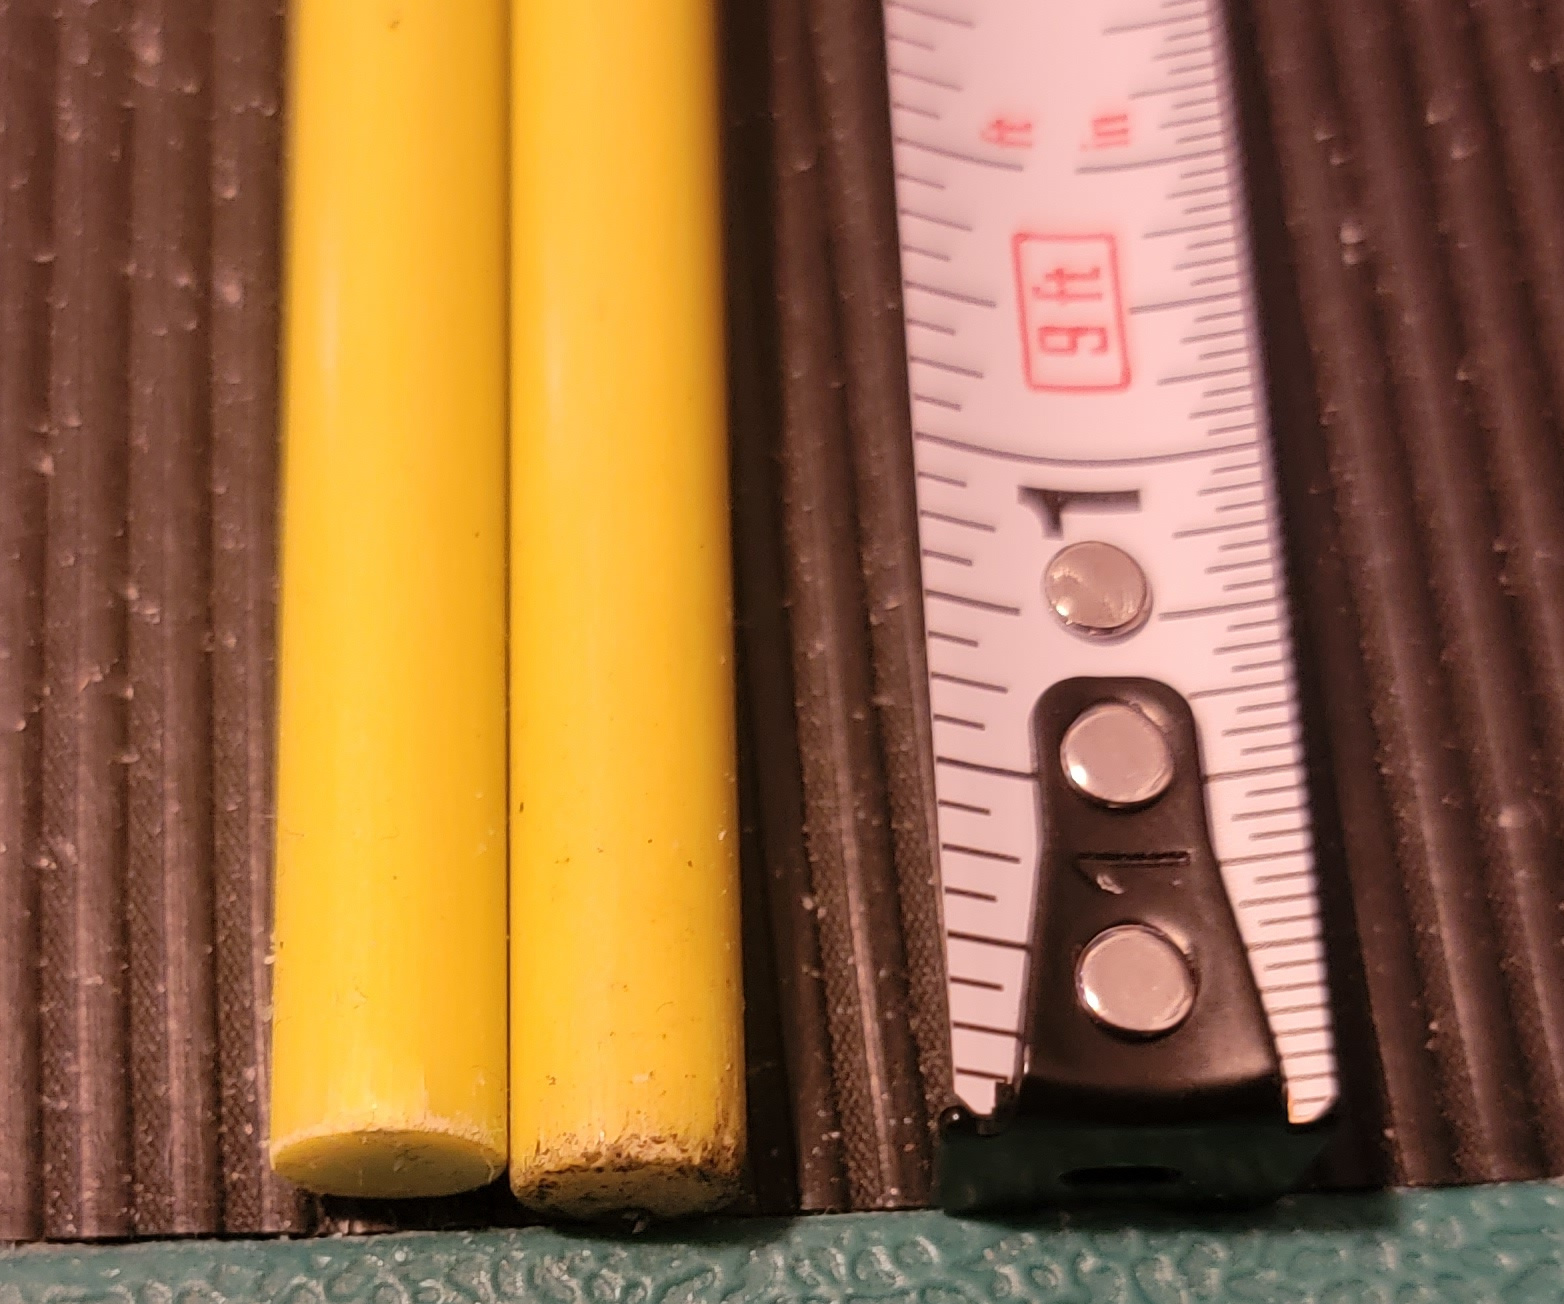
Lay out a measuring tape to over 30 inches right next to the alignment rods.
At 30 inches mark both alignment rods with the permanent black marker.
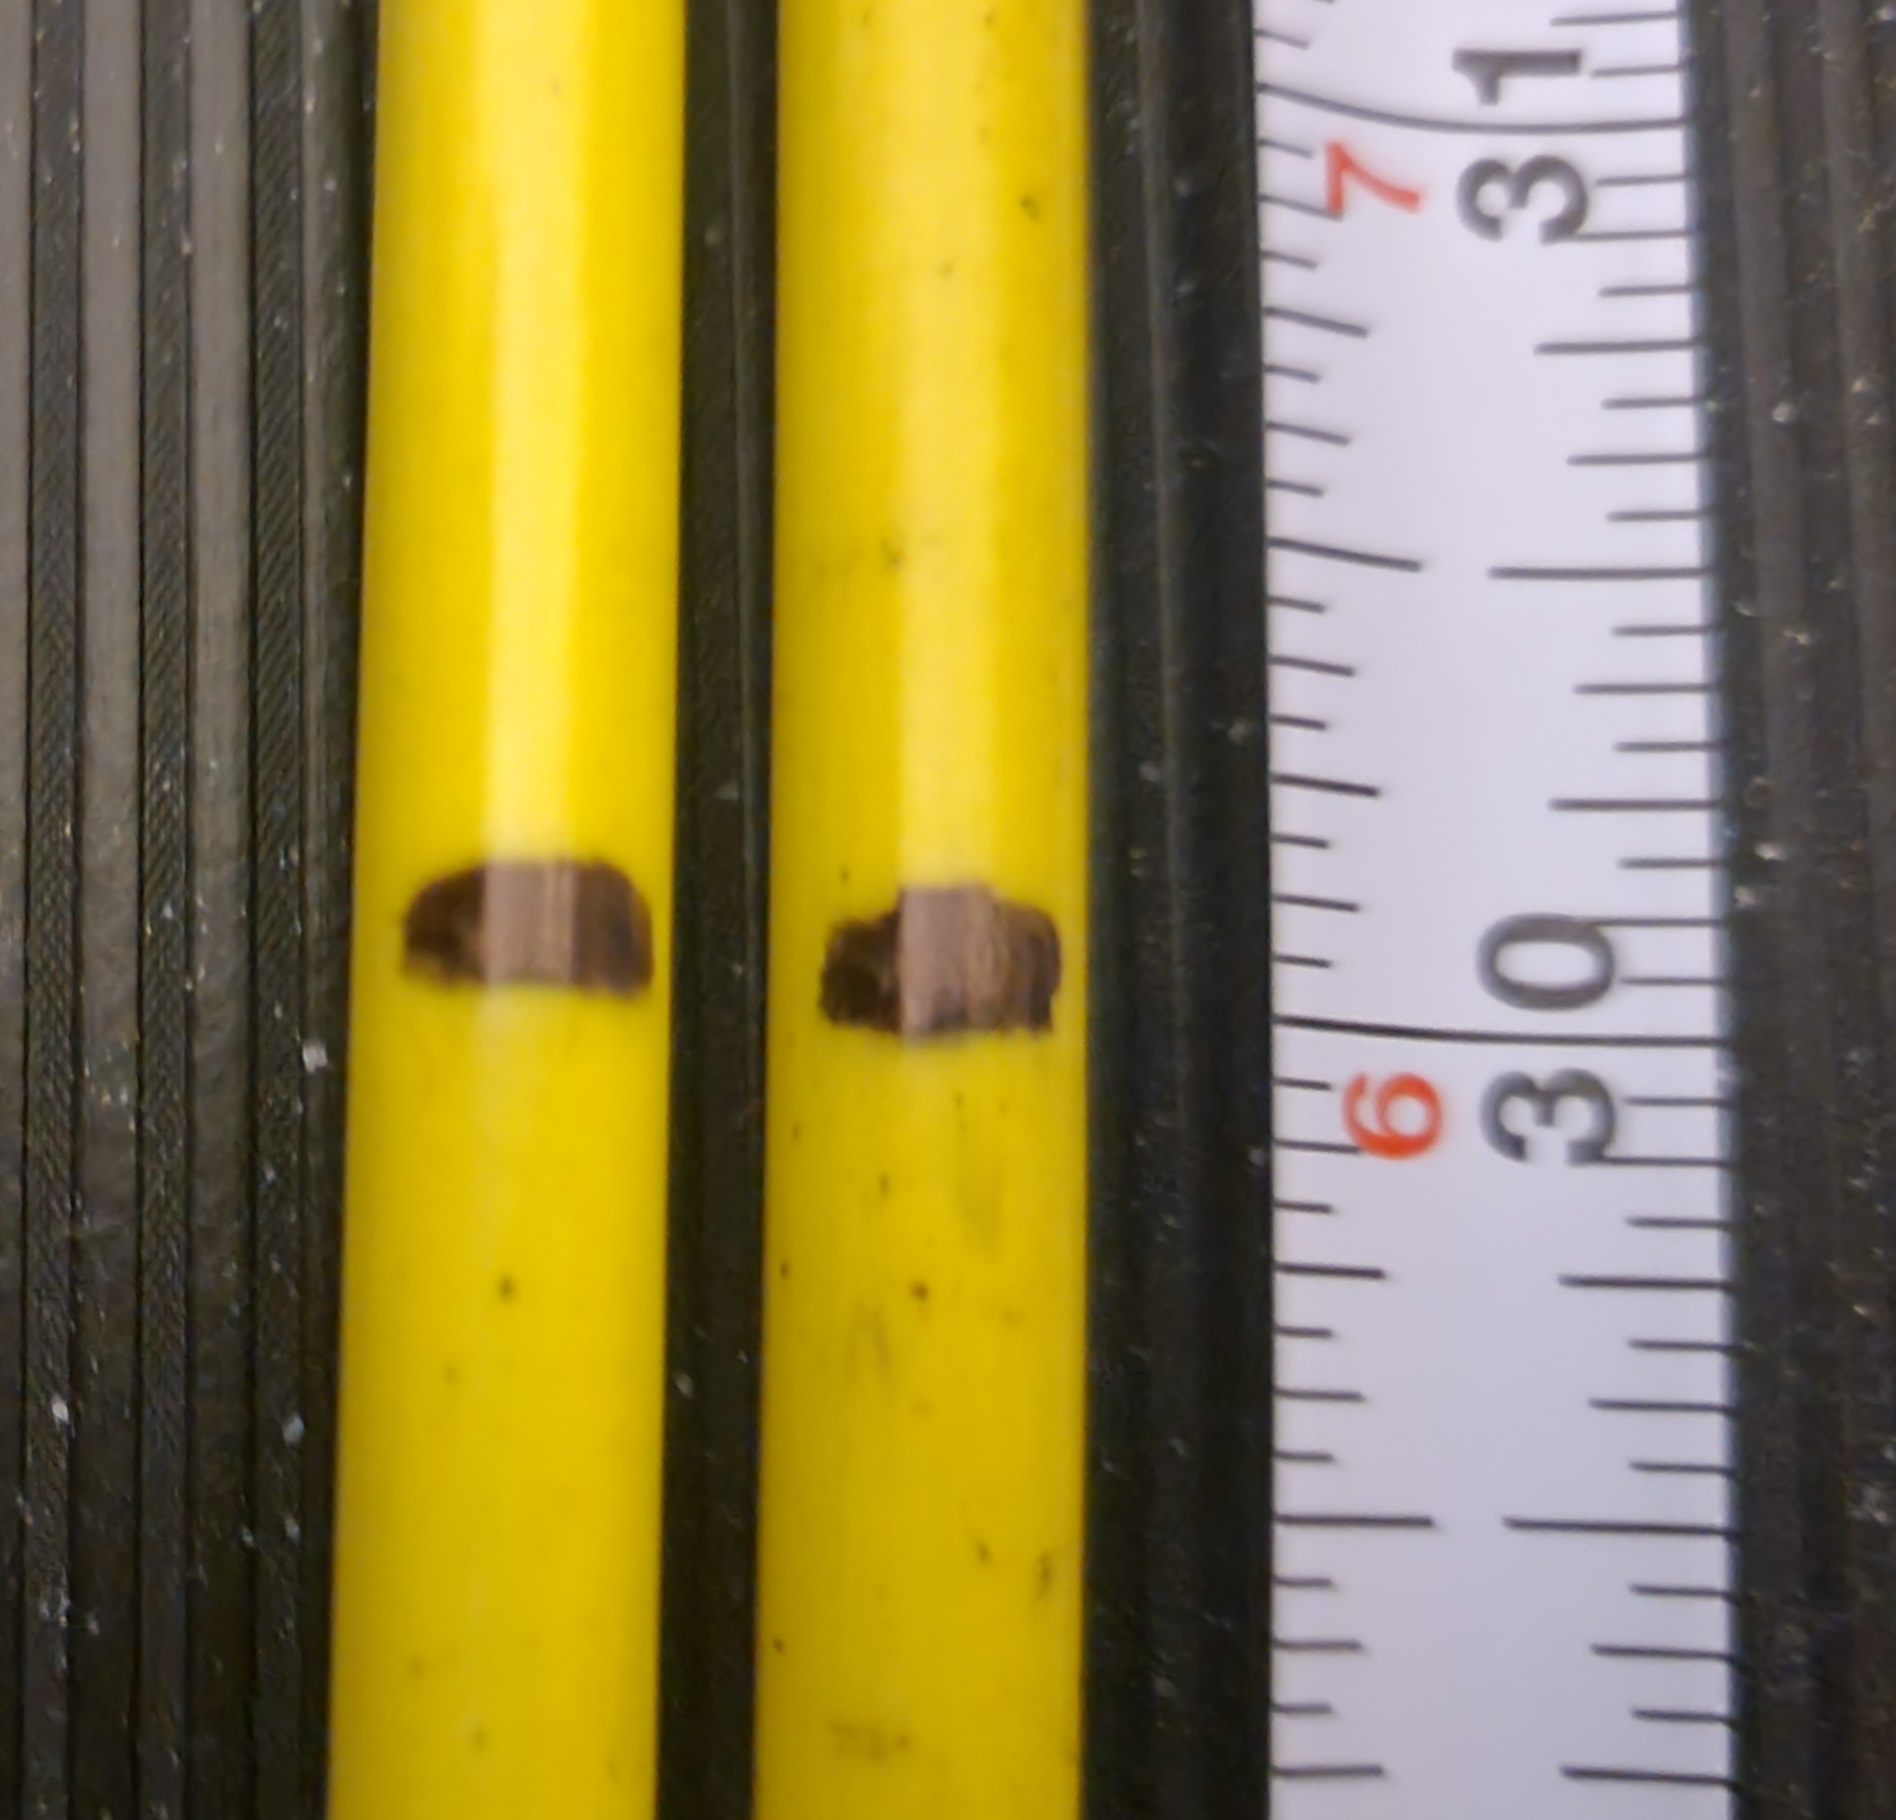
You’ve now established your drop point, or where you need to release the ball.
If you hold the alignment rods too close together the ball will fall off to one side and not roll off the end.
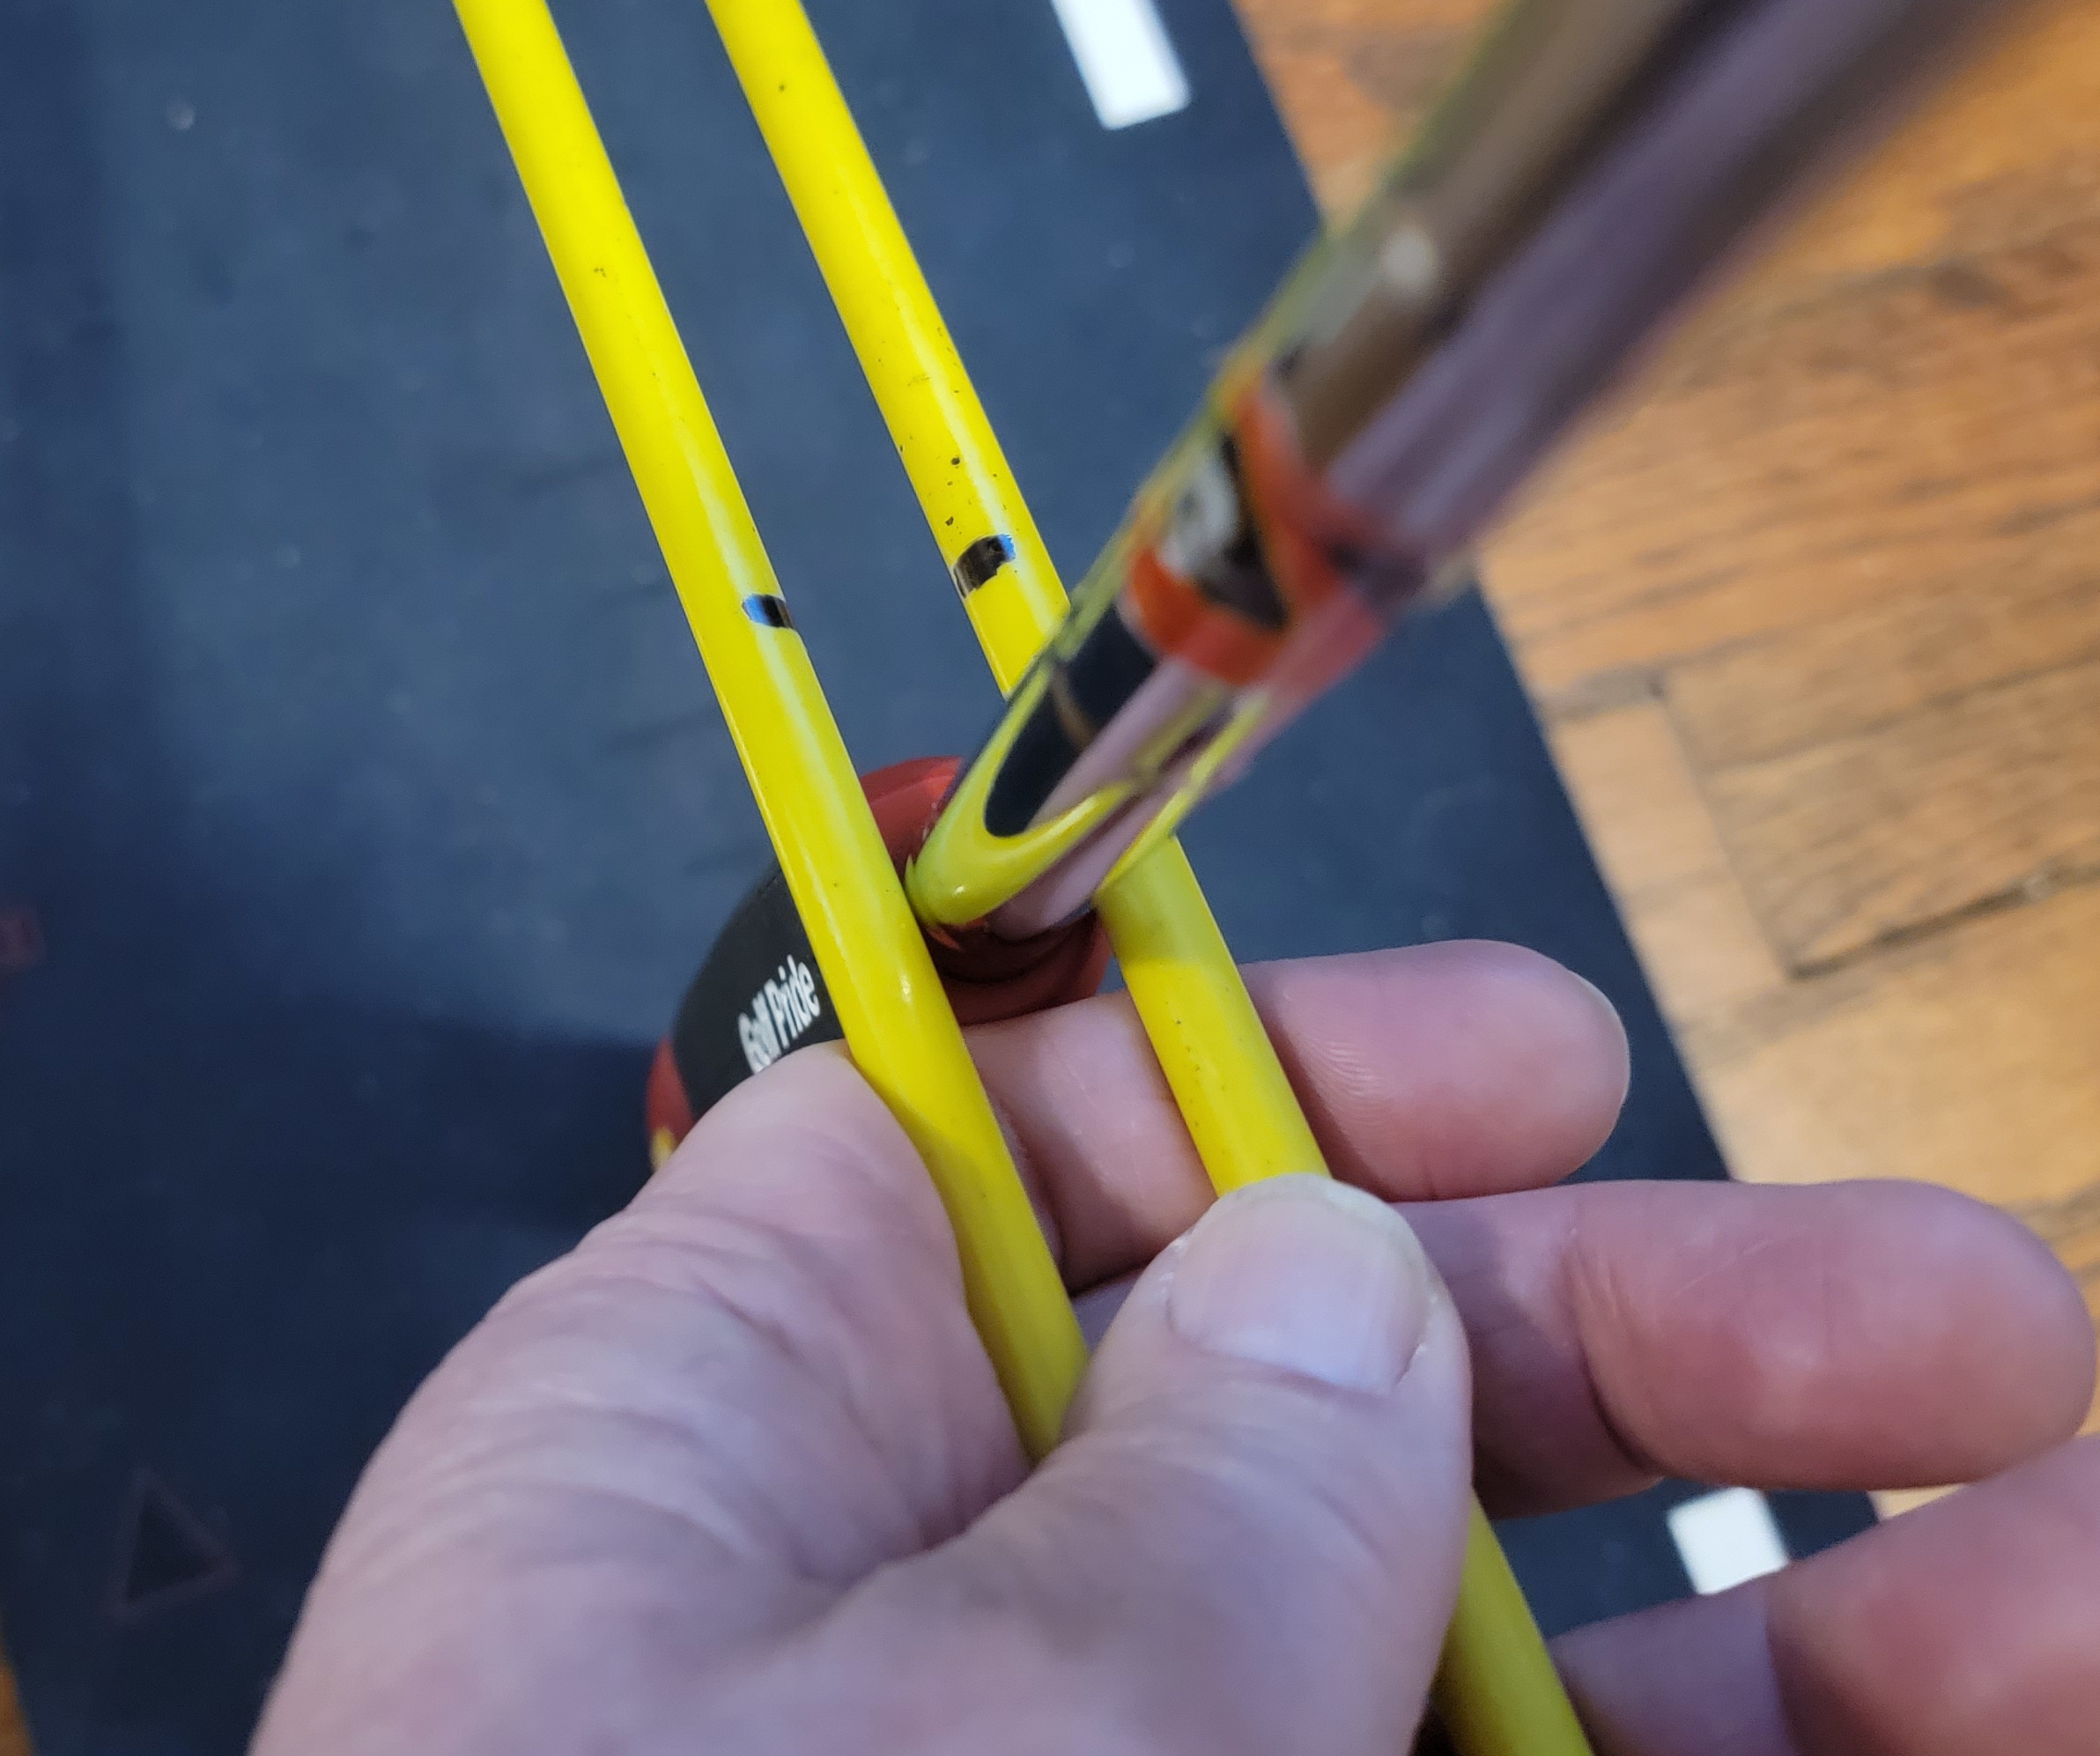
I found initially that holding the two rods in my hand and placing my thumb between them provided a “railroad track” for the ball to roll down.
Holding your phone bubble level / angle app at 20 degrees and the alignment rods takes both hands.
This makes impossible to roll 3 golf balls, unless someone else does it for you.
Solution: The distance from the alignment rods to the ground at 30 inches and being held at 20 degrees is 10 1/4 inches.
Making it work
What do golfers carry that is 10 inches? It turns out my putter grip and my golf club grips are 10 inches in length.
So, If you put the putter shaft between the two alignment rods just beyond the 30 inch mark, the angle is approximately 20 degrees.
What I did was hold onto the alignment rods and rest them on the putter grip end.
That is with the putter grip down on the green and the putter head up..
In other words, the putter grip sticks out just far enough from the putter shaft to rest the alignment rods on the grip.
To get to 10 1/4 let the alignment rods rest on your fingers at the top of the grip.
Measure the angle to make sure it was 20 degrees.
I really wanted to say if I rest it on my knee it will be 10 1/4 inches high. That just doesn’t work. Everyone is a different height.
You need to find something to stick under the alignment rods to create a 20 degree angle.
Make sure you are at 10 1/4 inches of vertical lift at 30 inches up the alignment rods.
(Note: You could easily make a “T” out of PVC tubing that was 10 1/4 inches tall. or a 1 x 2 piece of scrap wood.)
Let’s you drop the ball with your other hand
Here is another option if you carry a digital level.
Rest the alignment rods on the digital level and measure 10 1/4 vertical inches at 30 inches on the alignment rods. The result is a 20 degree angle.
You still need to hold the alignment rods to stabilize them.
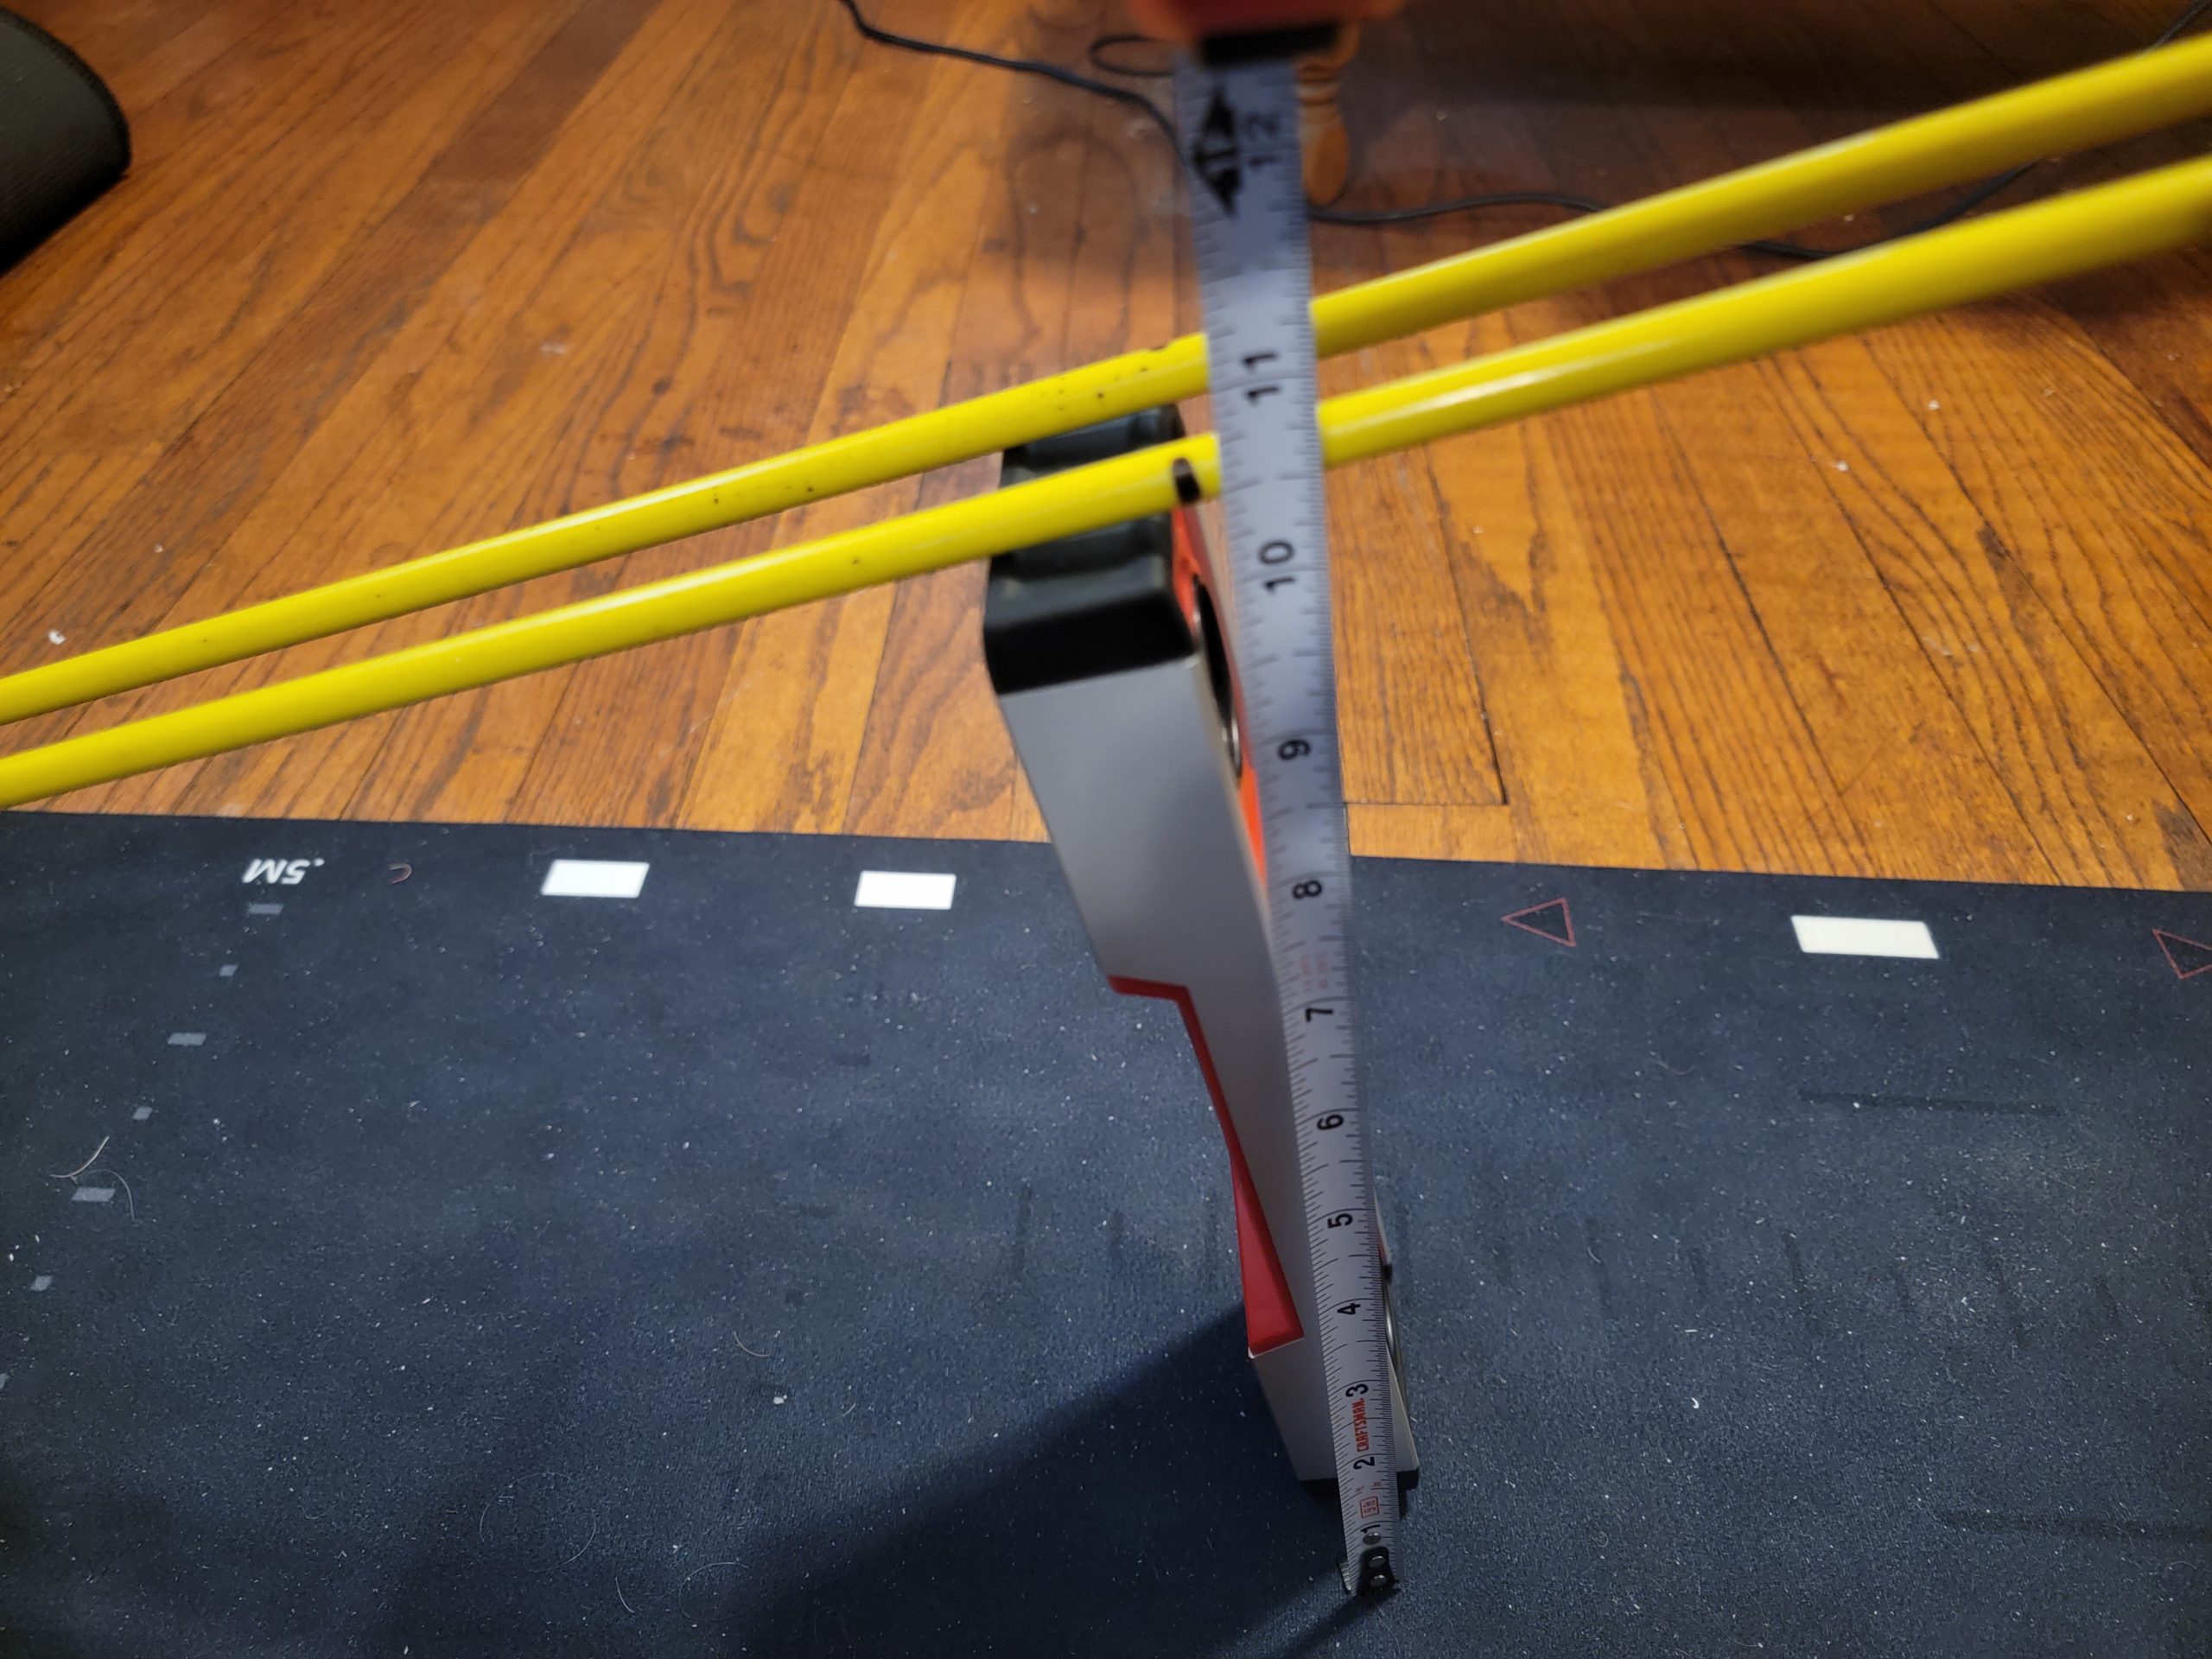
Measure 10 1/2 inches at 30 inches
The rods will be set at 20 degrees
Measuring the green Stimp Reading
Put a tee or ball marker at the end of the alignment rods to give yourself a start point to measure from.
One at a time, roll 3 balls down the alignment rods.
They all should be close. Measure to the middle ball with a tape measure. You could walk it off if you feel confident in knowing the length of your paces.
Let’s say they roll 10 feet. That indicates a 10 stimp green reading.
Place another marker at that 10 foot mark.
To double check, repeat the process rolling 3 golf balls back toward you original start point.
If the measurement is 10 feet, you have a 10 stimp green reading.
There is a paragraph at the end of this article showing how I checked the stimp reading with The Perfect Putter.