There are all kinds of putting drills. Here are some standard drills and what to use to set them up. These setup accessories can be used for all the putting drills we have on this site.
What we are going to go over is setting up circles around the target hole or a regular golf hole. Then setting up a line of stations to putt from.
We will go over lining up breaking putts with an elevated aim line.
Another drill setup shown will be a 3 foot drill using an alignment mirror, putting gate and golf ball gate.
The last thing is measuring the stimp reading on a green. We will discuss options to measure speed of greens as not everyone has a way to measure stimp with a device.
See our putting accessories page for the items used to set these up.
The Dave Pelz Elevated aim line is reviewed here
The Perfect Putter info can be found on this page.
Setting up 3 foot and 6 foot drills
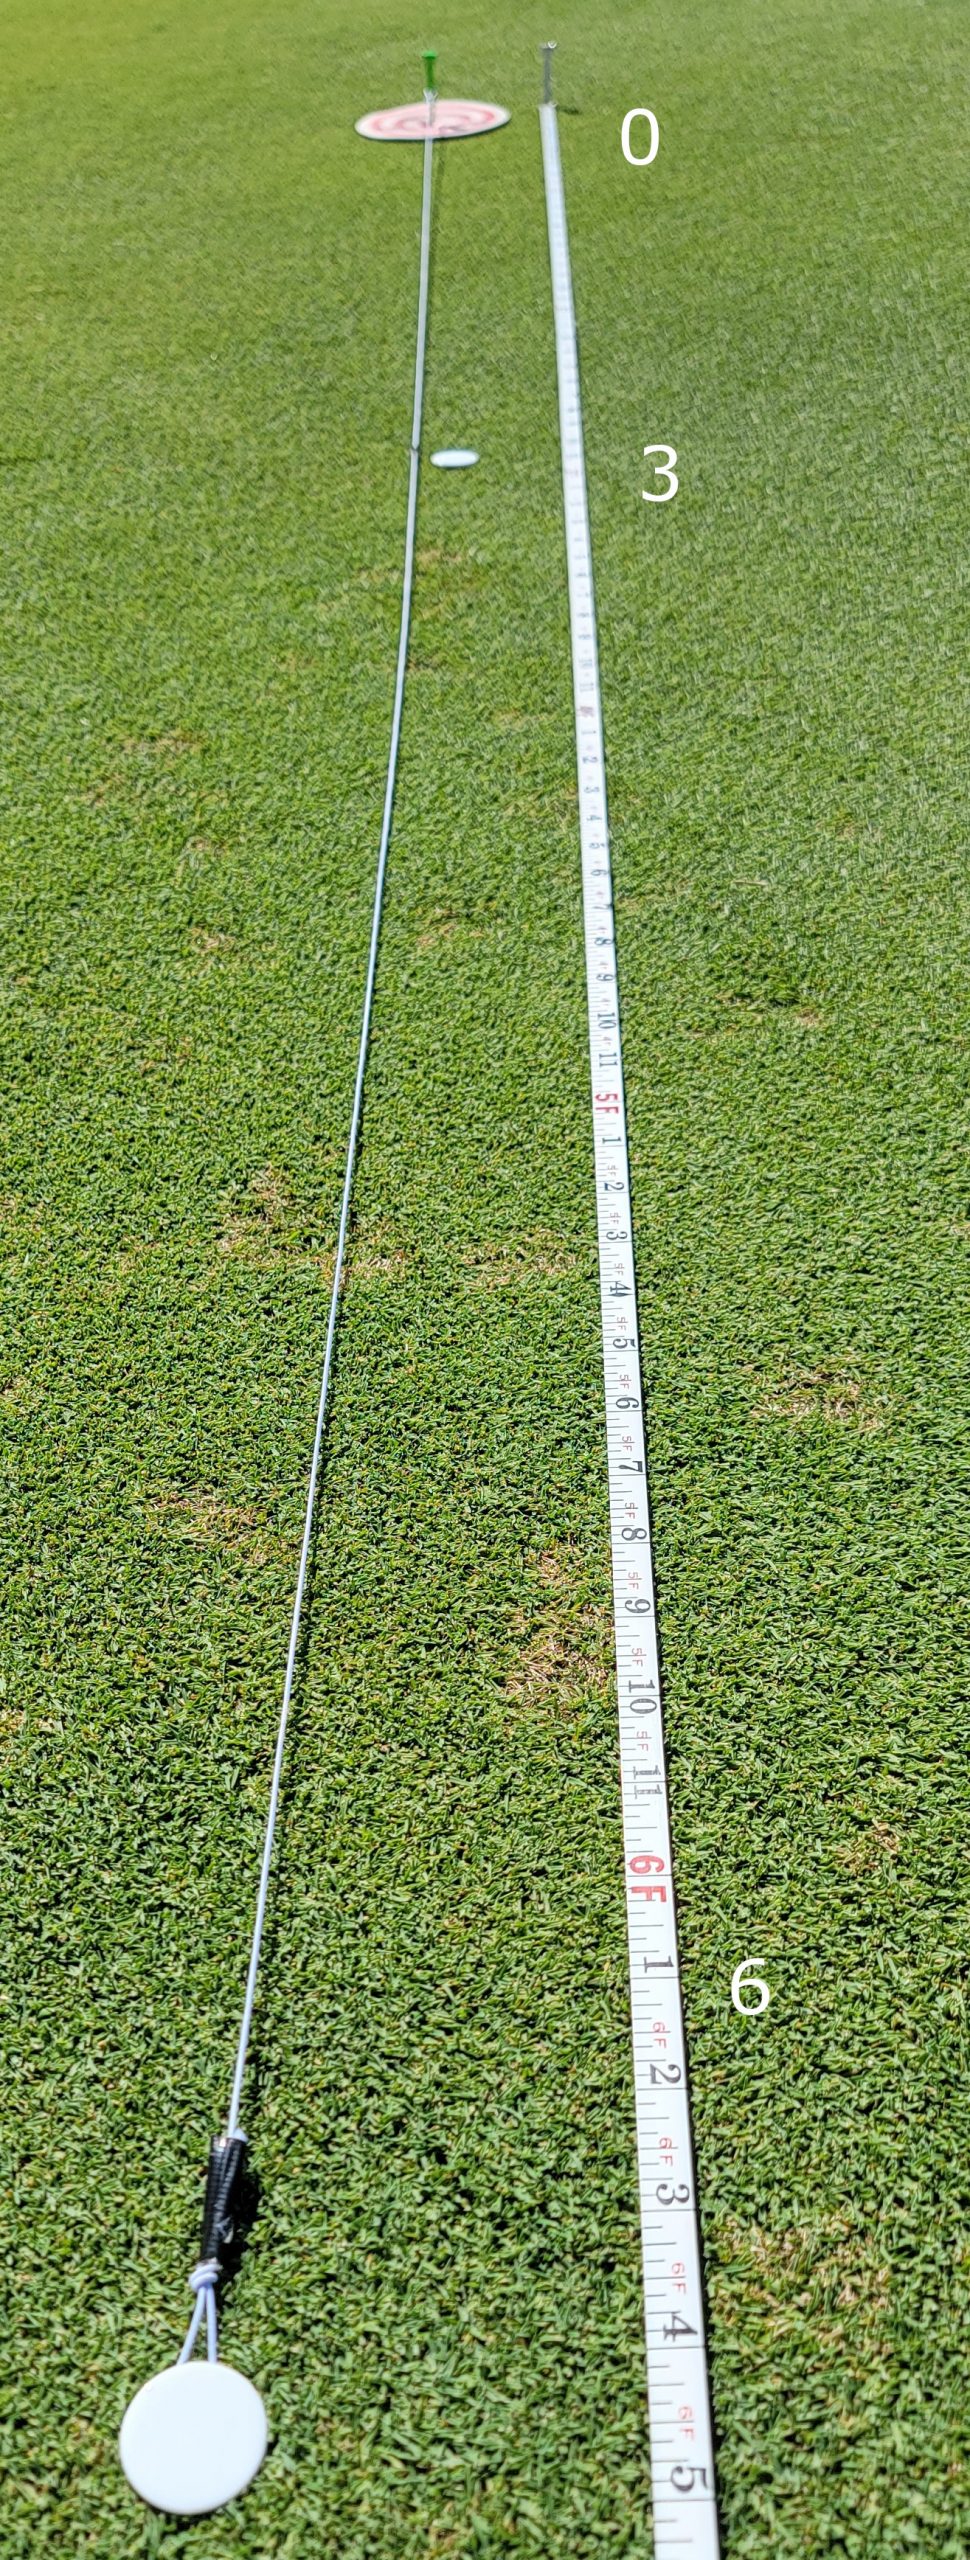
For these make, up a six for piece of string or elastic string. Make a loop at each end.
Make some kind of mark at 3 and 6 feet. Electrical tape or a magic marker will work.
Place a tee through the center of a target hole. Loop the string around the tee and lay out the string.
Use ball markers to mark 3 and 6 feet. Remove the tee and string.
Putt adjacent to the 3 foot and 6 foot markers. (Or other distances) 3 footers and 6 footer are good practice.
This set up can be used to make a clock pattern for 3 foot putts (8 positions) and 6 foot putts (12 positions).
See the image below for the target hole I use. Mark one up to help line up the string.
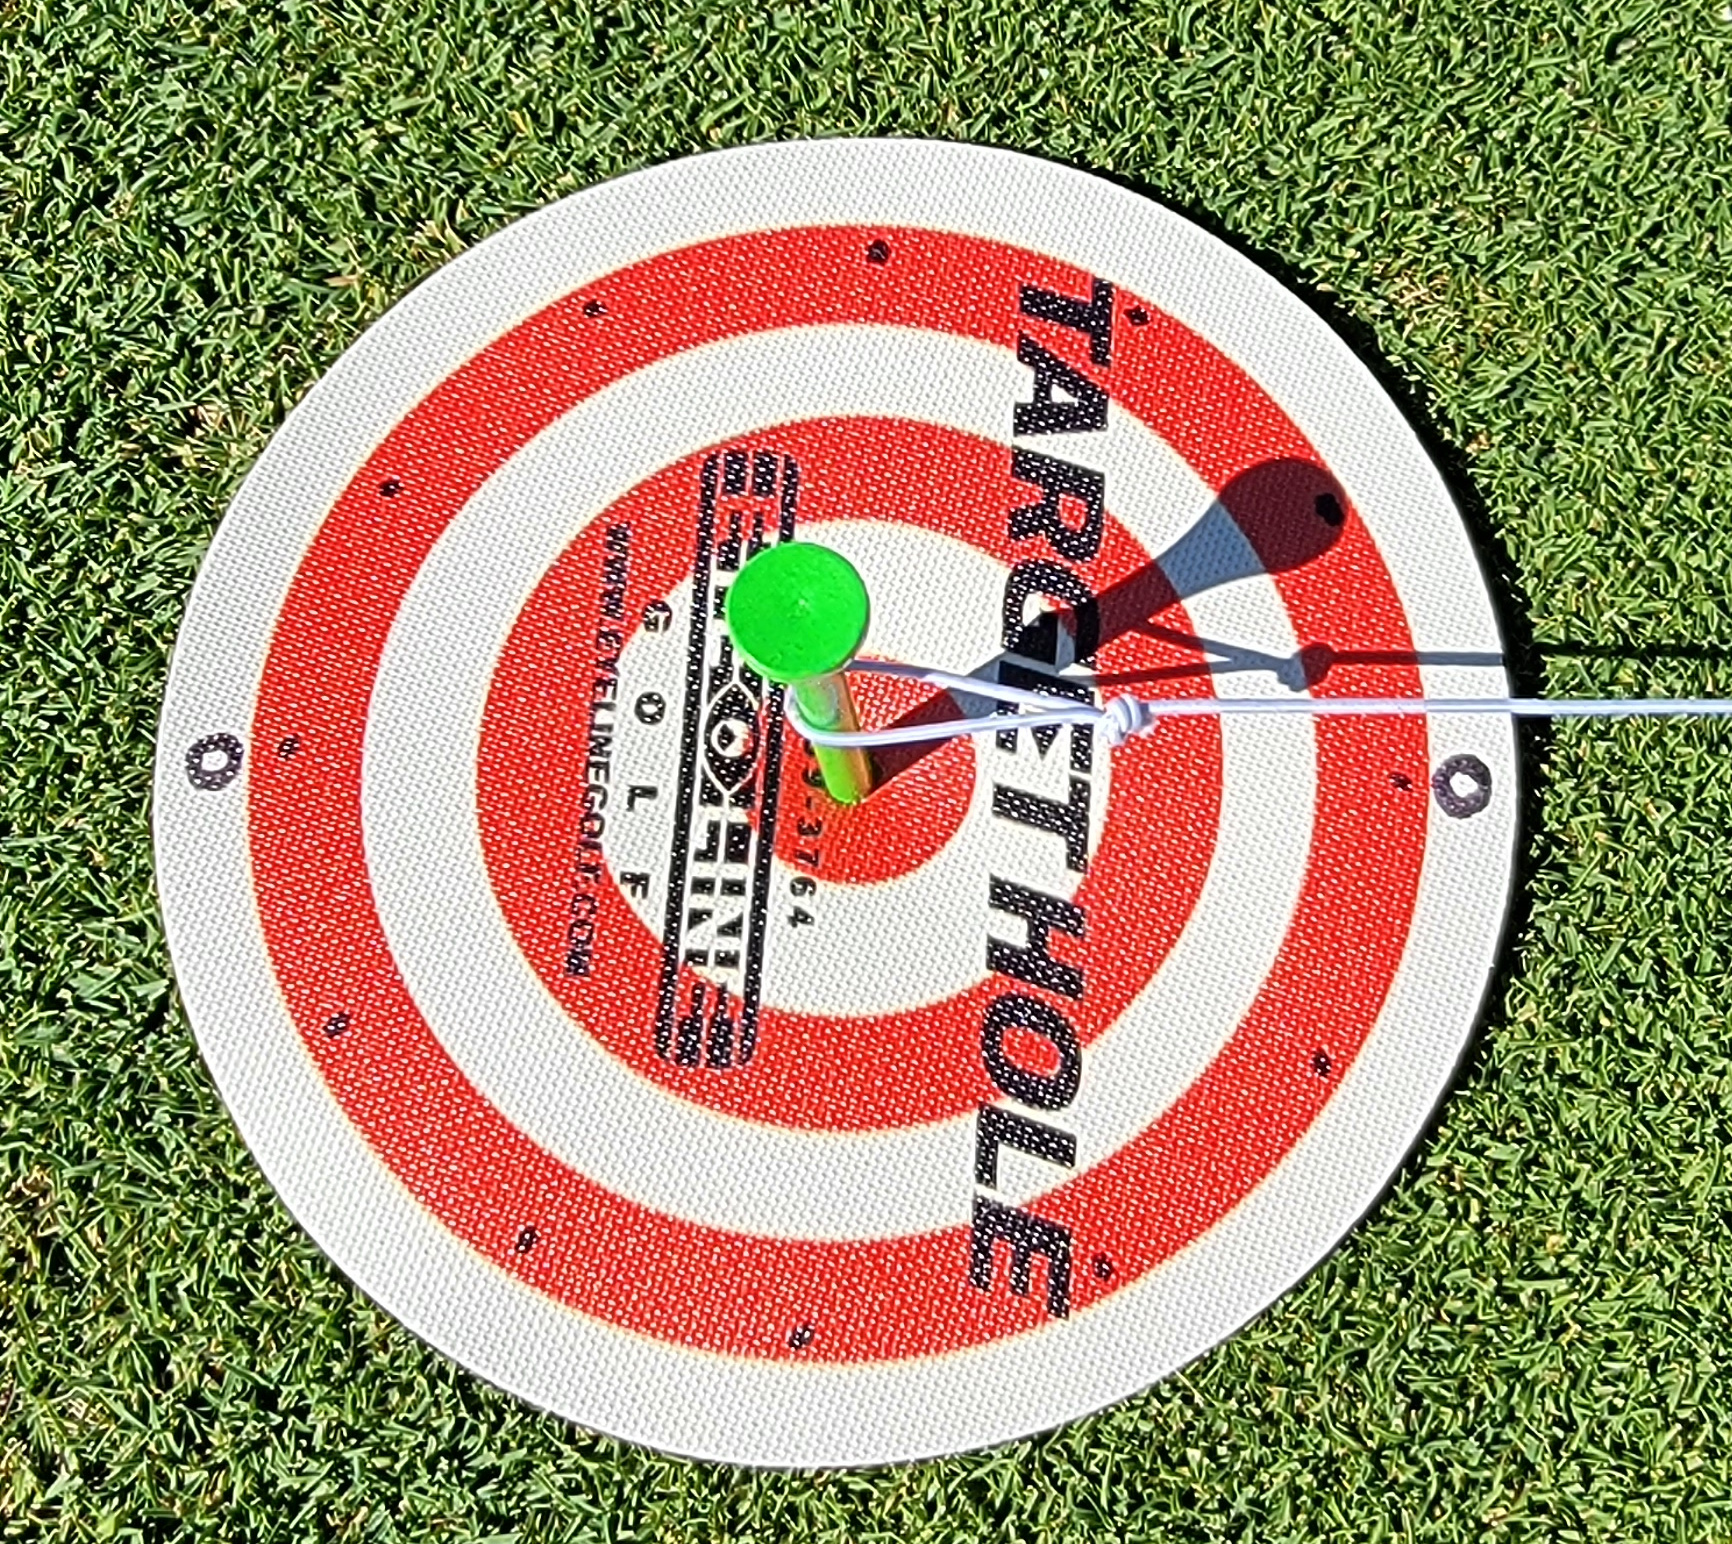
Helps to line up string
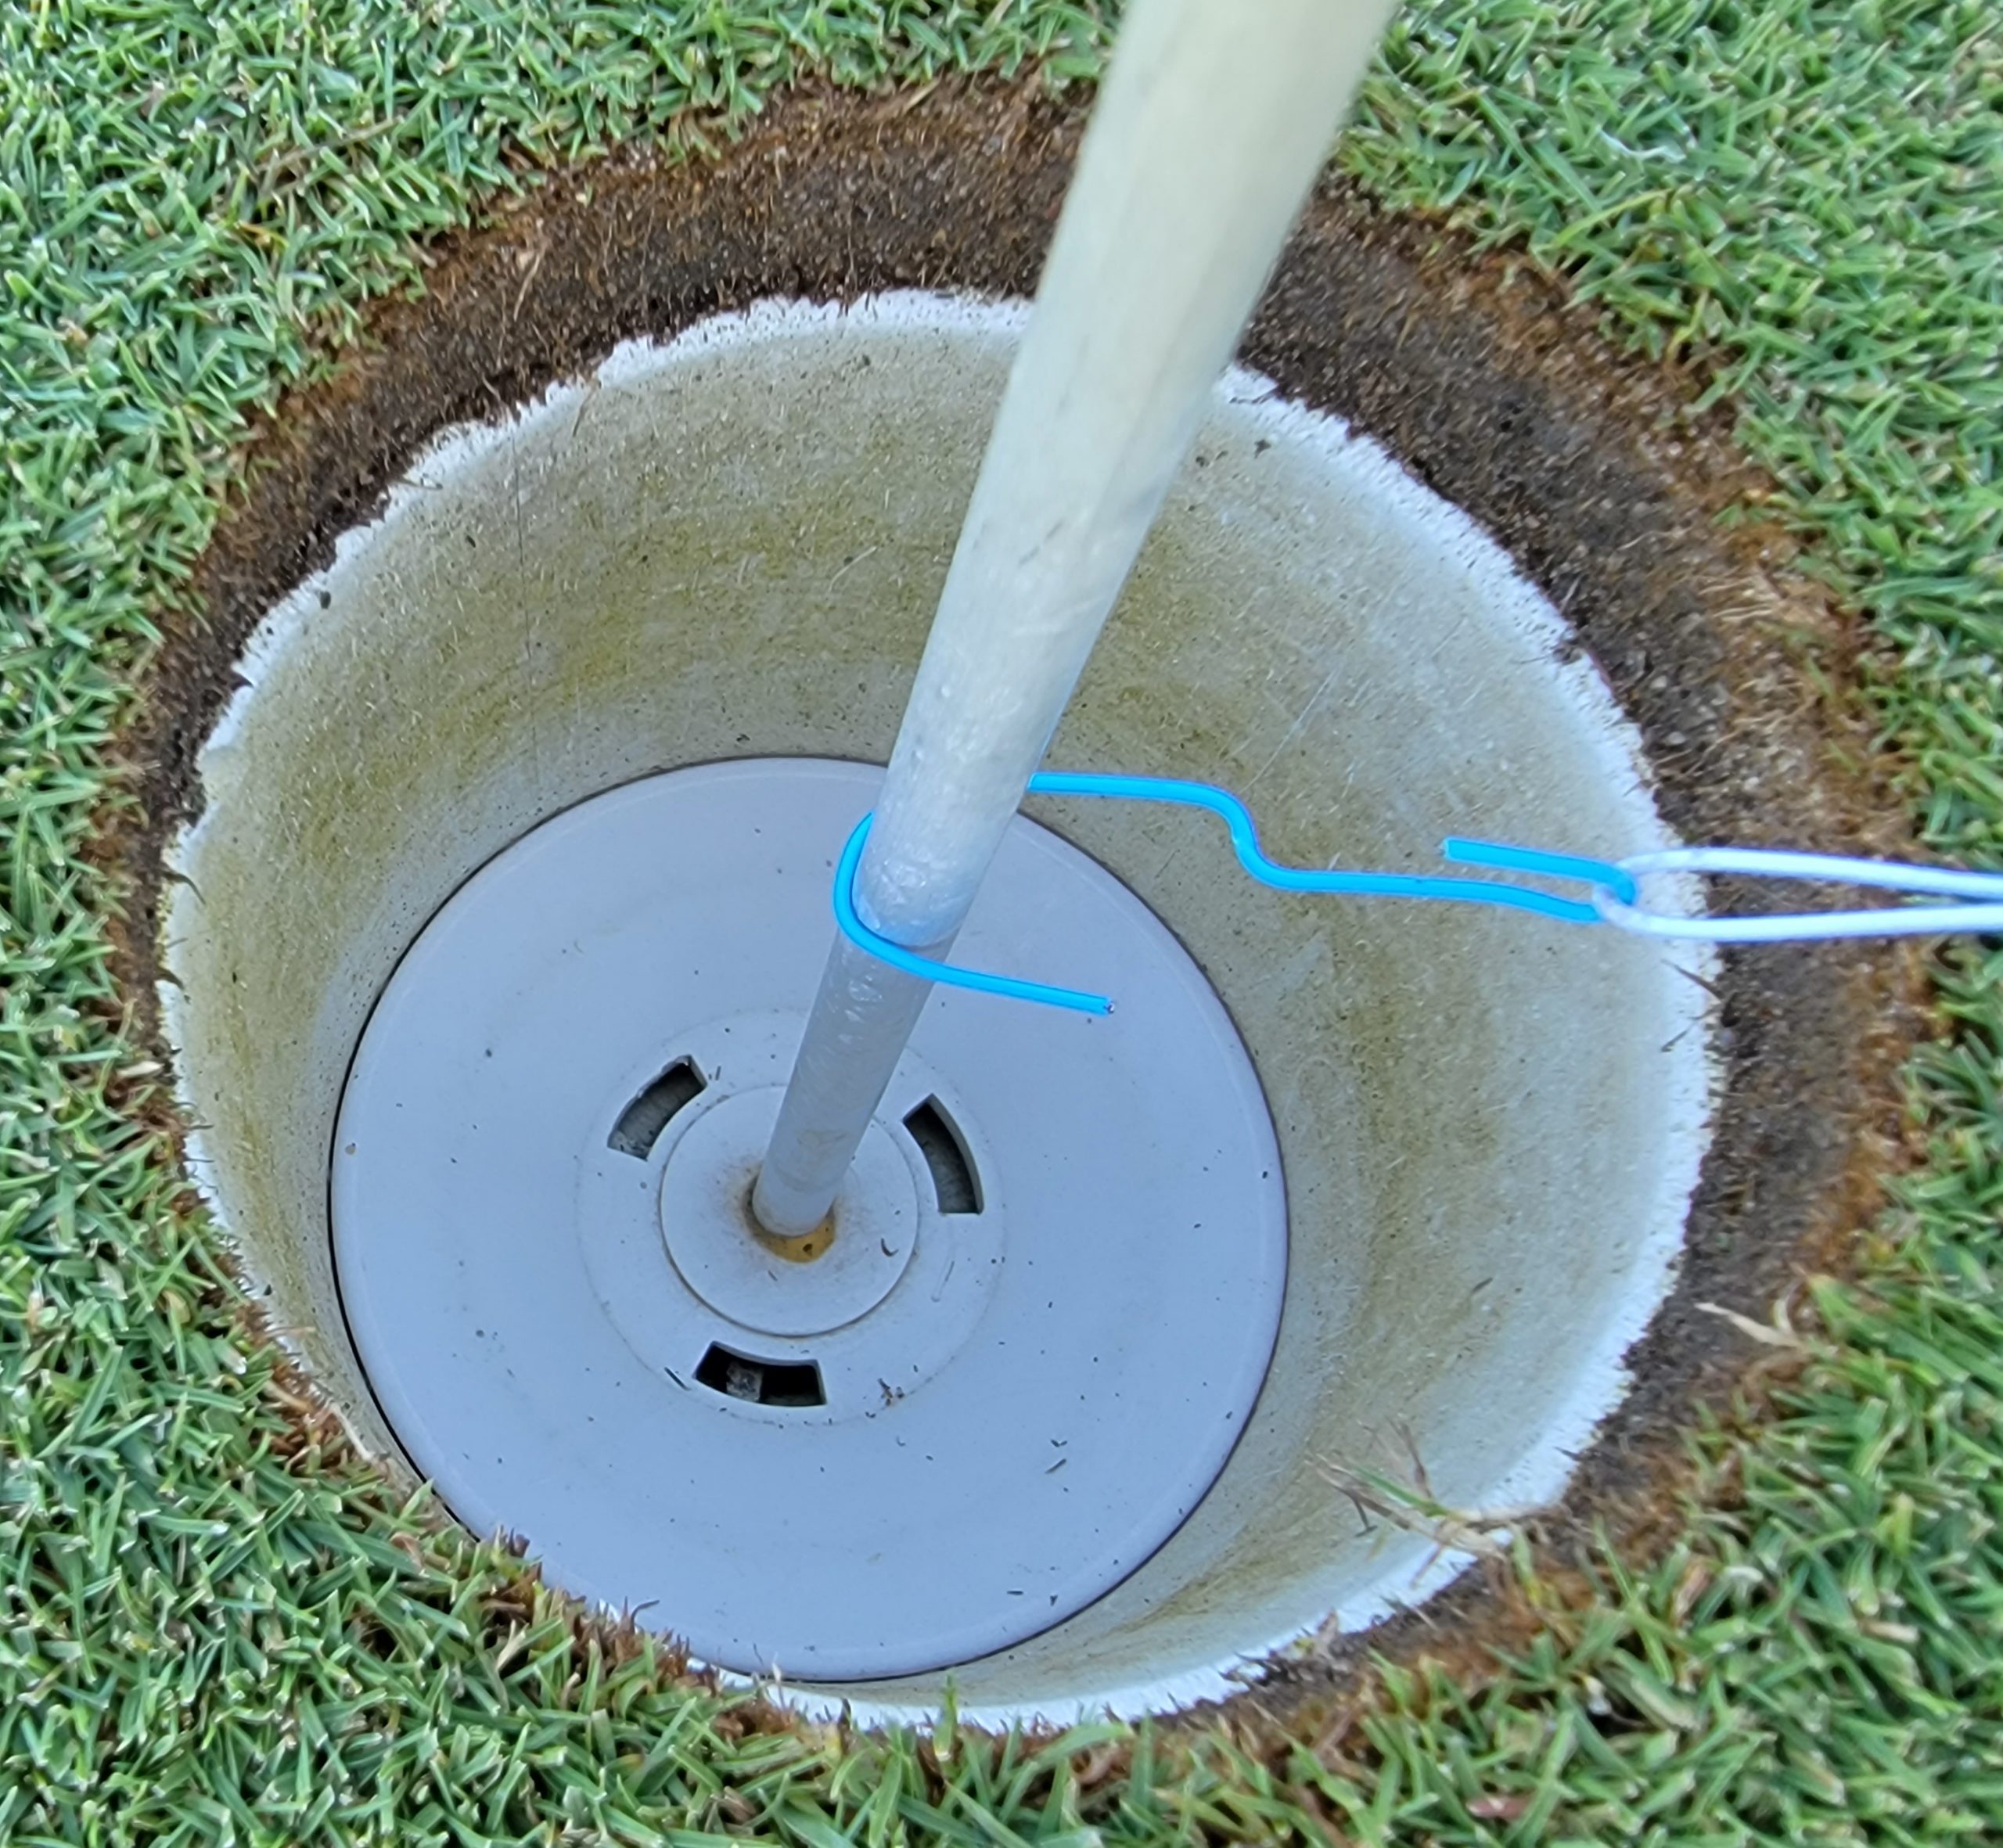
you can use a paperclip around the flagstick
Setting up clock drills
This is a little hard to see, but there are two circles made from ball markers in a clock pattern.
When I putt these I putt the three footers first and then remove the 3 foot markers.
Then I putt the 6 footers.
They don’t have to be perfect circles. Some people use their putter to lay this out.
For the inner circle it would be one putter length. For the outer circle it would be two putter lengths.
I like using the string. It’s easier in my mind.
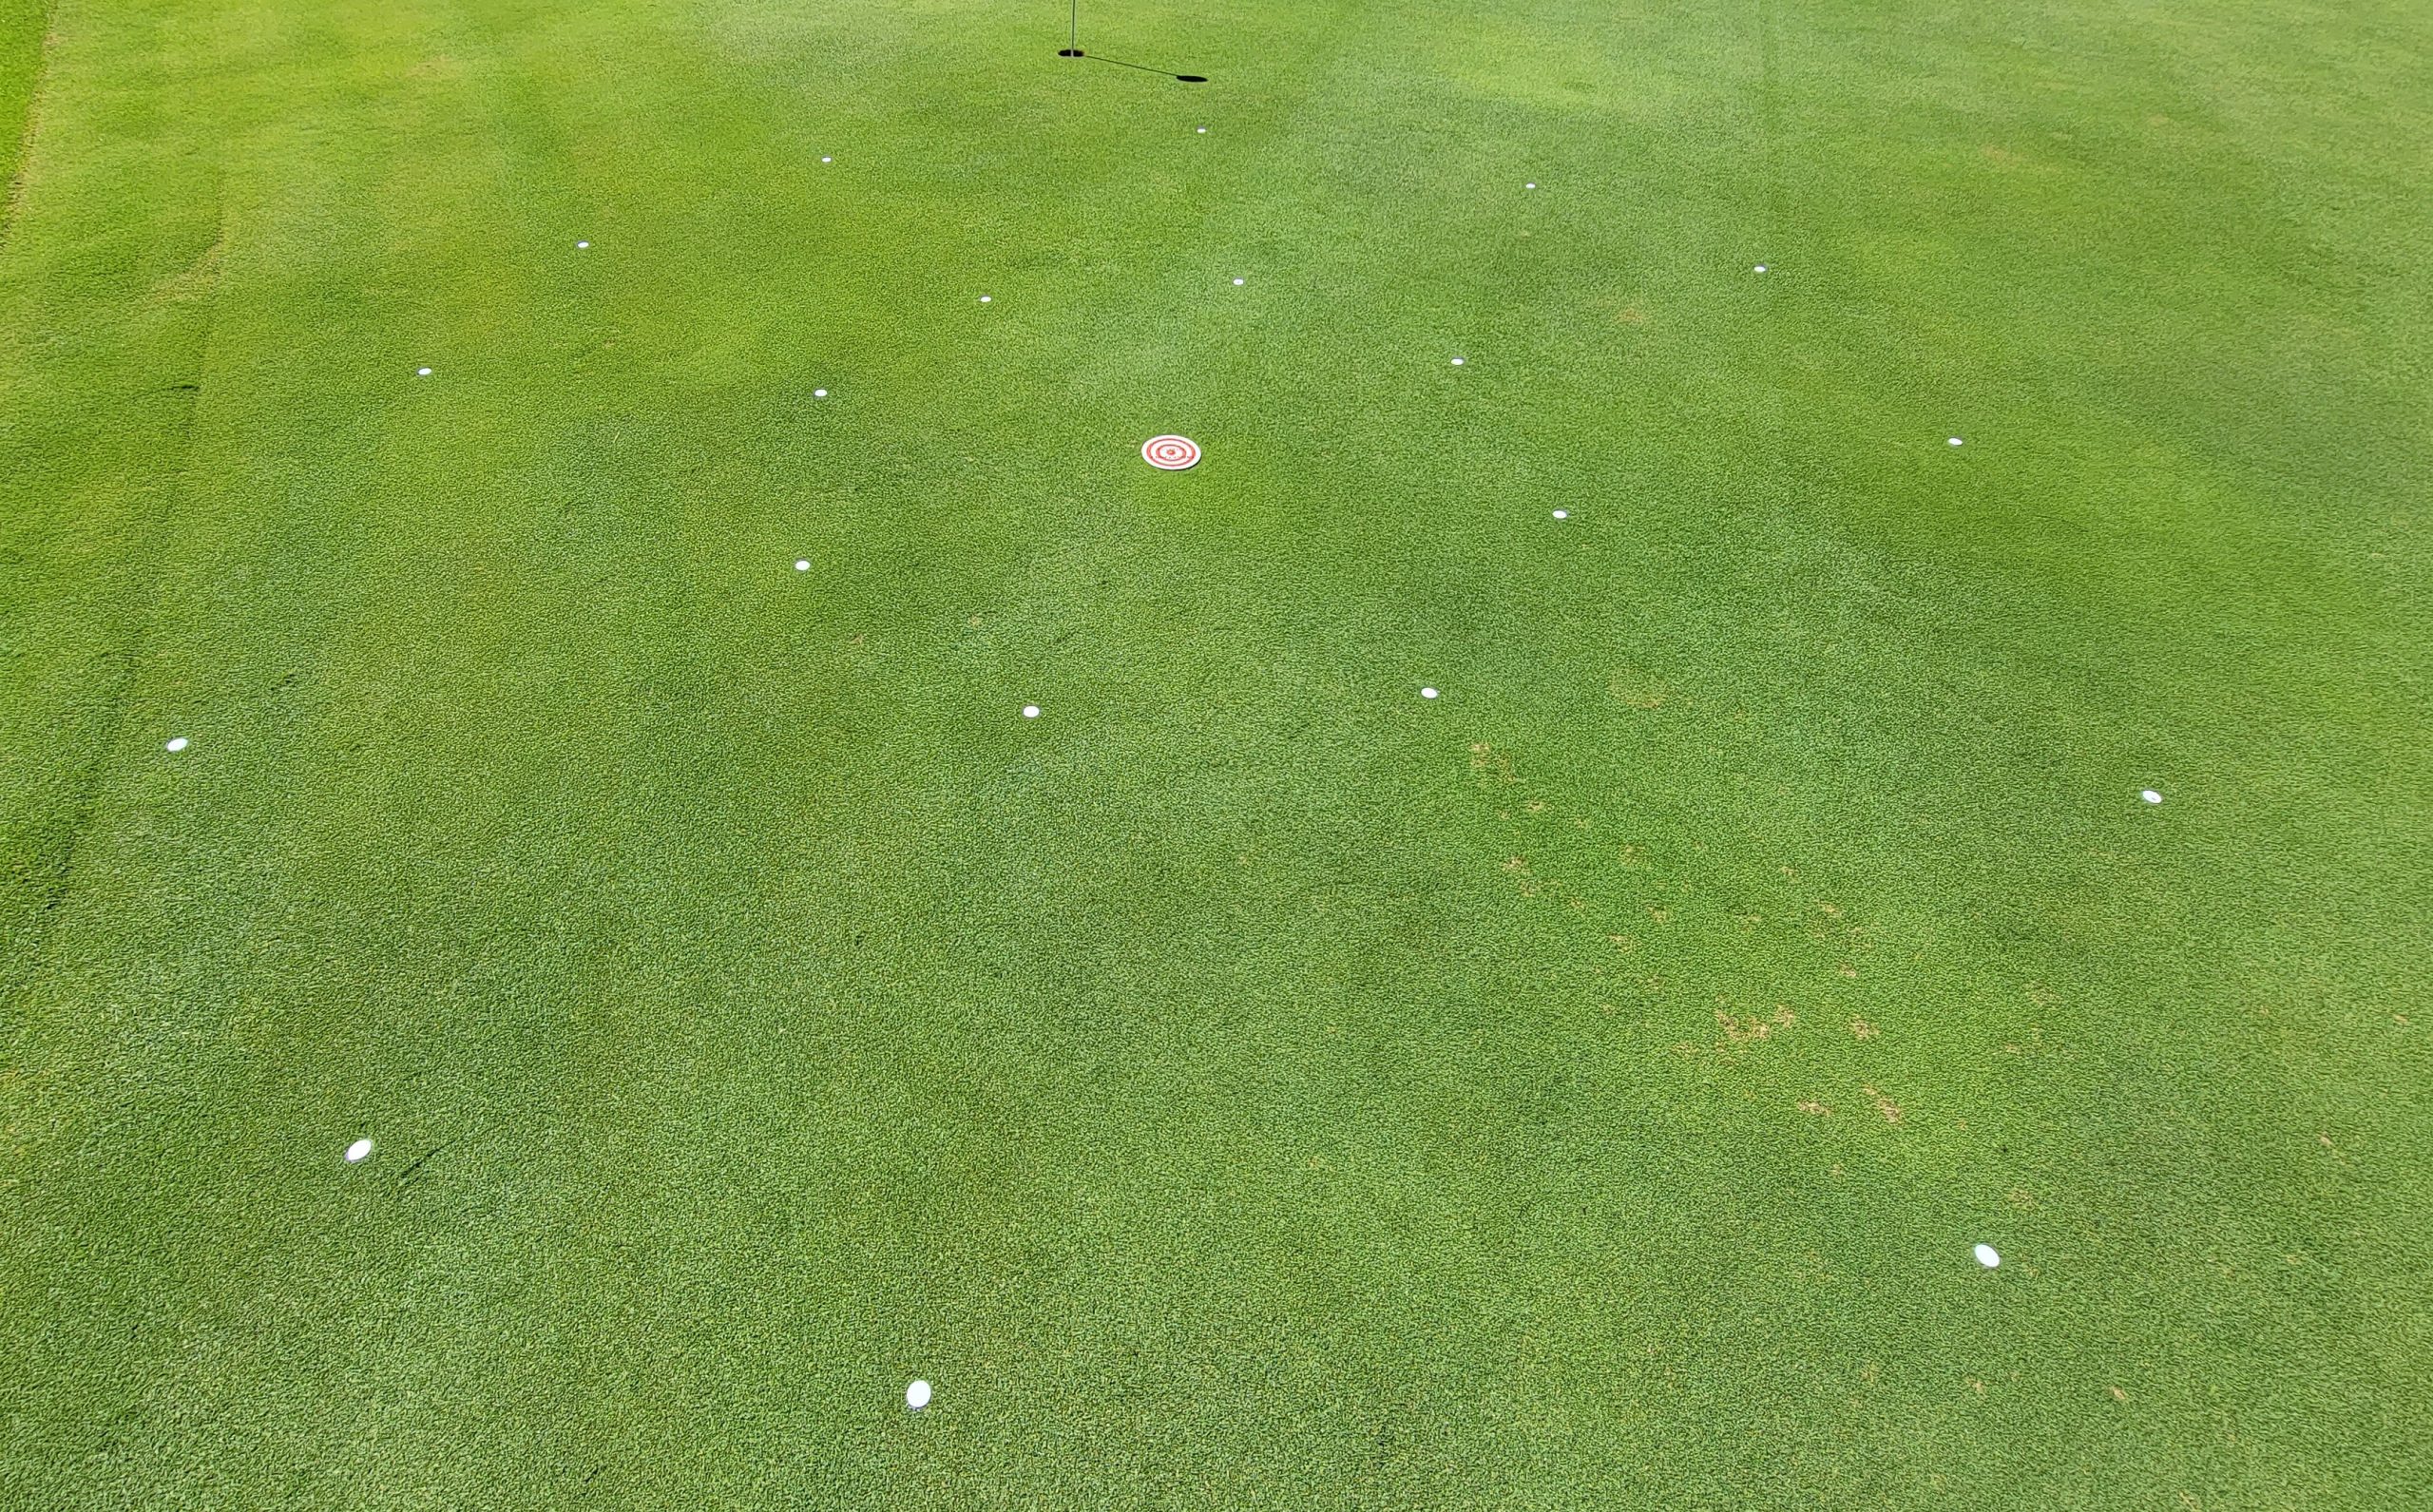
12 position 6 foot diameter circle
Setting up distance drills
How to set up 30 feet of putts.
I put a 3 foot circle using ball markers at each end and use red divot repair tools as stations to putt from.
Use the hole at each end as your zero point.
Place markers at 3 feet, 6 feet, 10 feet, 15 feet, 10 feet, 6 feet and 3 feet. 15 feet being the middle.
I usually will take ten putts at each station in both directions. In that case, it would be 70 putts downhill and 70 putts uphill.
The object is either to make the putt or stay within the 3 foot circle at either end.
I don’t putt next to the red markers. I putt on the other side of the circle. Otherwise, the red markers would be in your way.
This drill has a lot of putts. I do this every couple week or so.
If you make the distance 40 feet or 50 feet just add markers every 5 feet.
Some suggest that the circles at the end should be 10 percent of the longest putt. I like leaving them at 3 feet. You can figure out if your 40 footers are within 4 feet and your 50 footers are within 5 feet.
If there are any golf balls outside the 3 foot circles, I try to make them.
I like using the ball markers because golf balls roll over them. You could use tees for all of this as well. I don’t like using them for the circle as they can deflect putts.
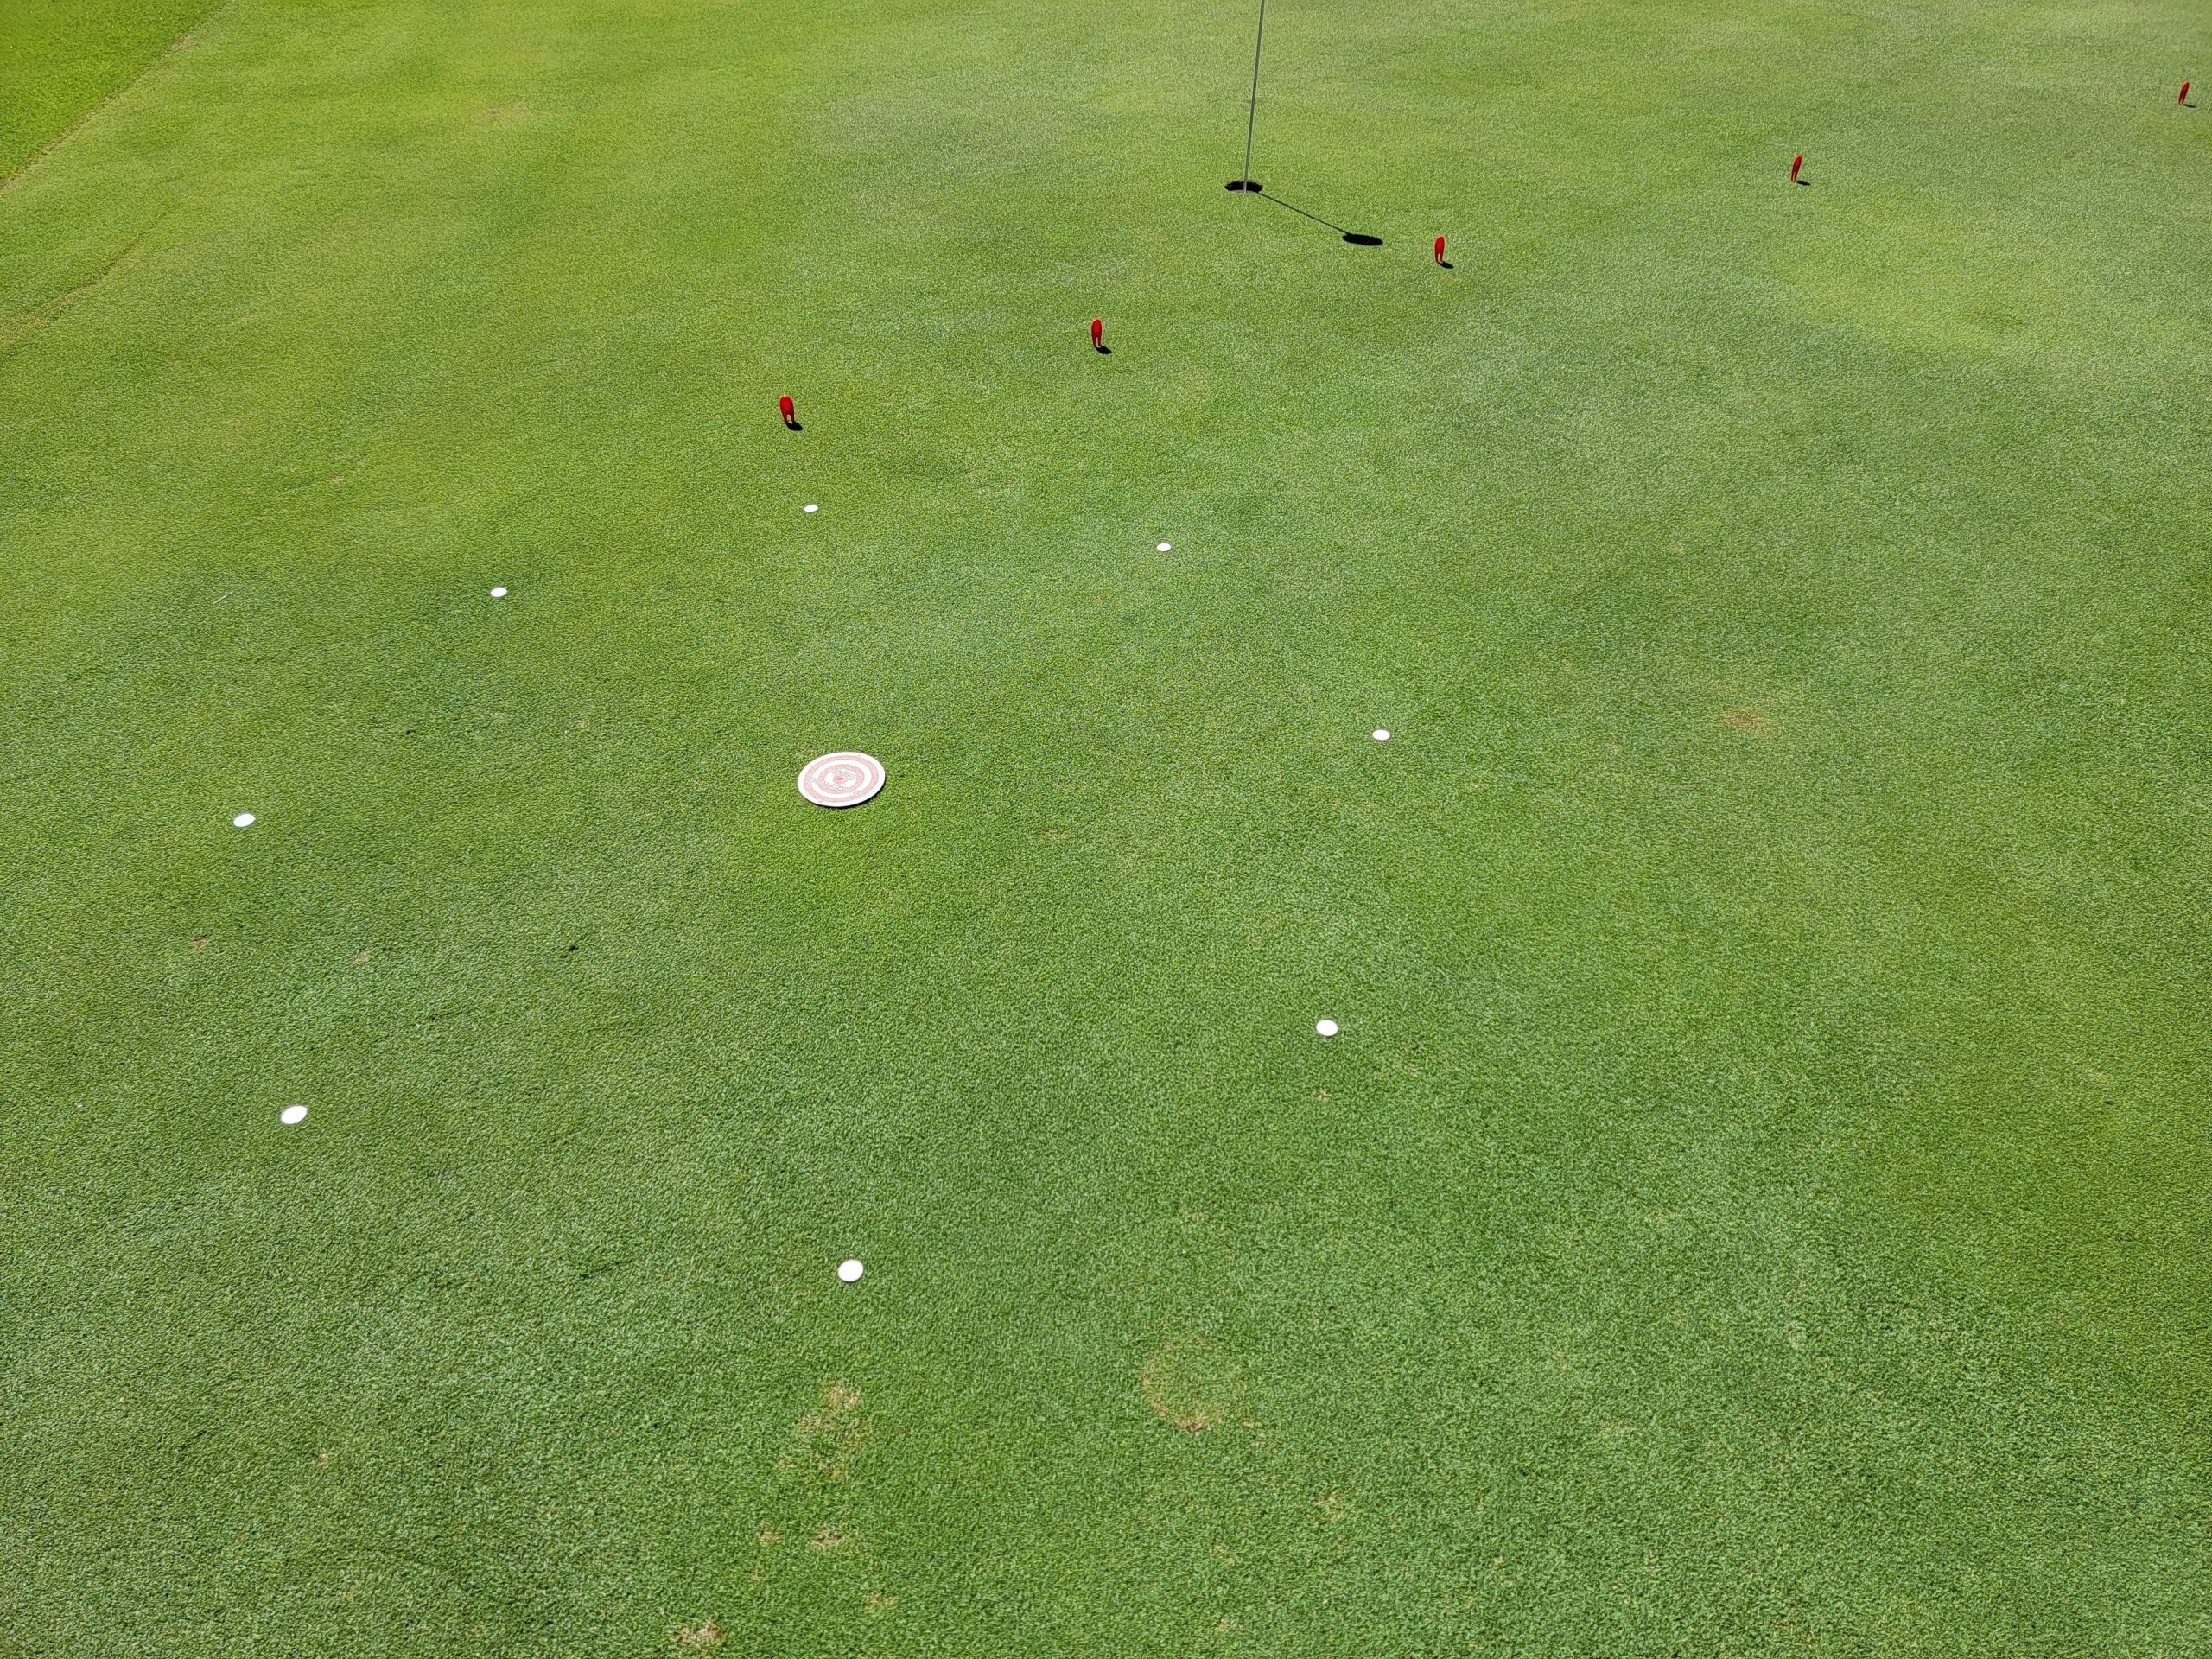
This is a close up of the downhill view
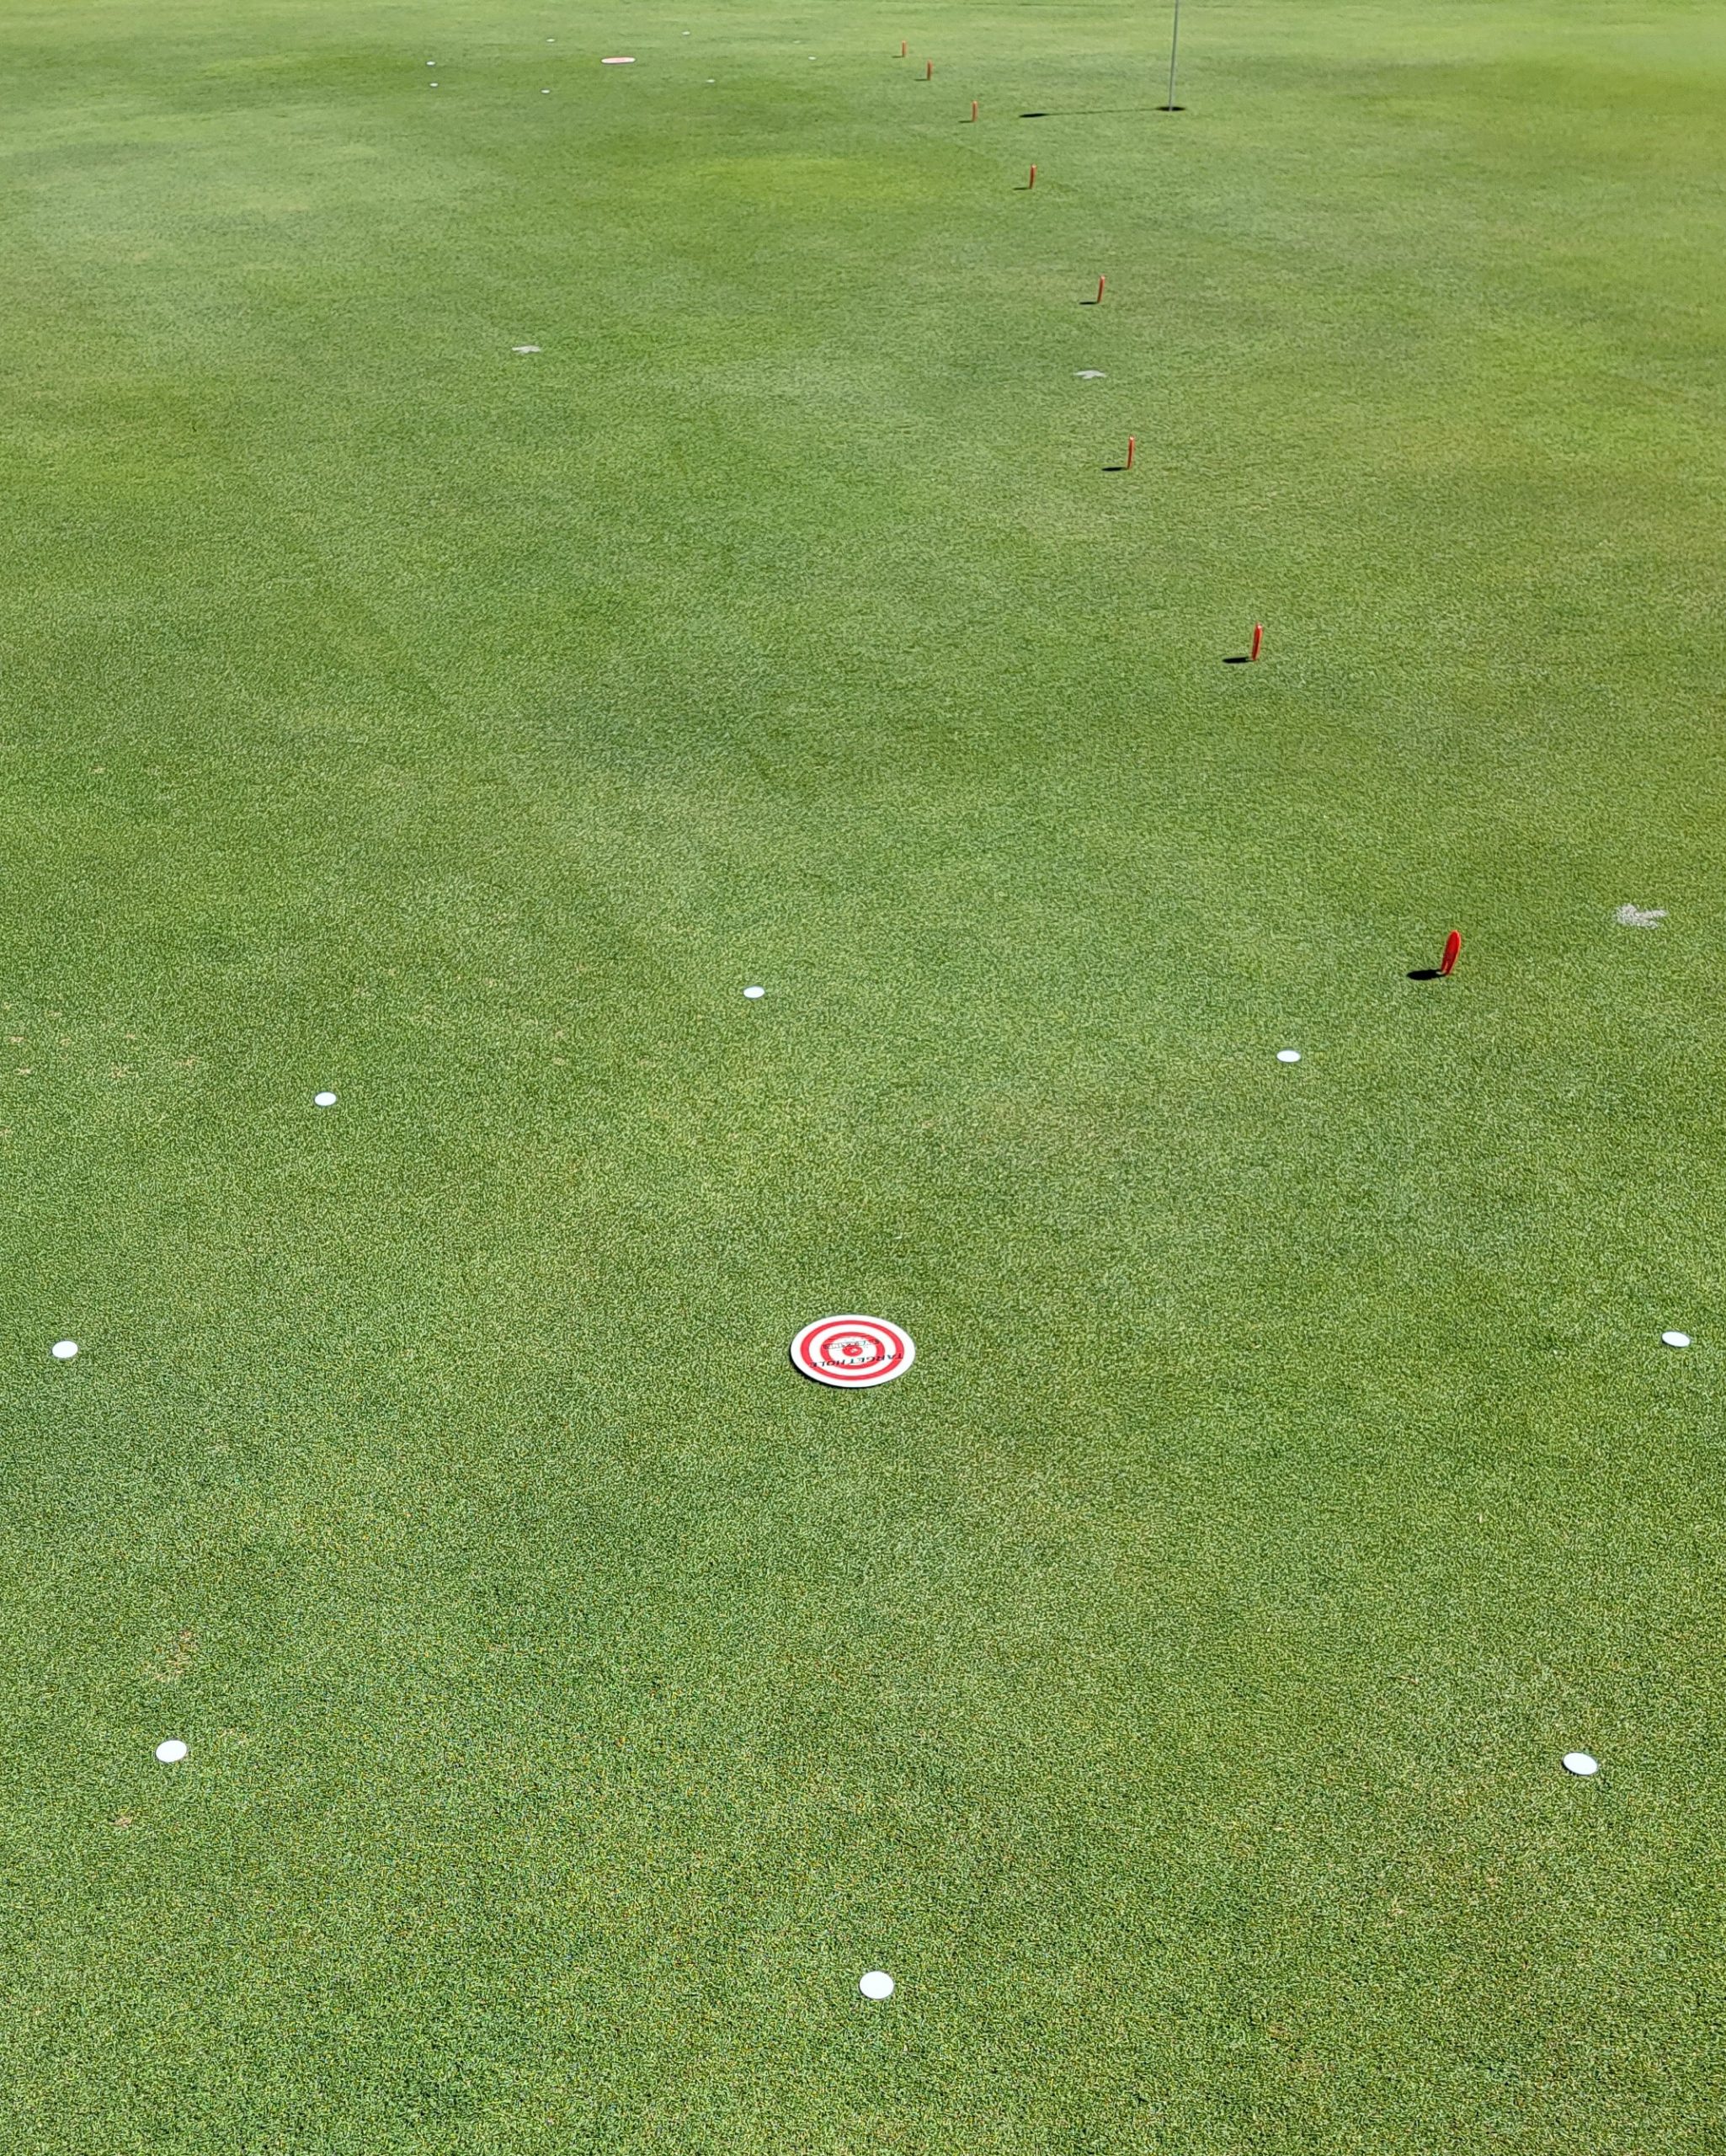
Setting up aim line drills
Set this up with an elevated aim line and a ball marker or tee for your start position.
The Dave Pelz Elevated Aim Line stretches. This is a ten footer, but will stretch quite a bit.
The idea with this drill is to read the break and make the putt.
If you don’t make the putt, ask yourself why you missed. Was the putter face square? Was my pace good? Did I read the green wrong? And adjust as shown below.
Use lined balls. If the lines wobble, you putter face was not square at impact. Place the ball directly under the line.
The ball marker is just a start point to putt from in the first image.

Read is 6 inches outside left
The second image shows the ball missed. We are now looking from behind the hole back to the start point.
The ball went past the hole, but missed on the low side. The lines on the ball are still vertical.
This tells me that my putter face was square, my pace was good, but my read was off. The next image shows the read change.
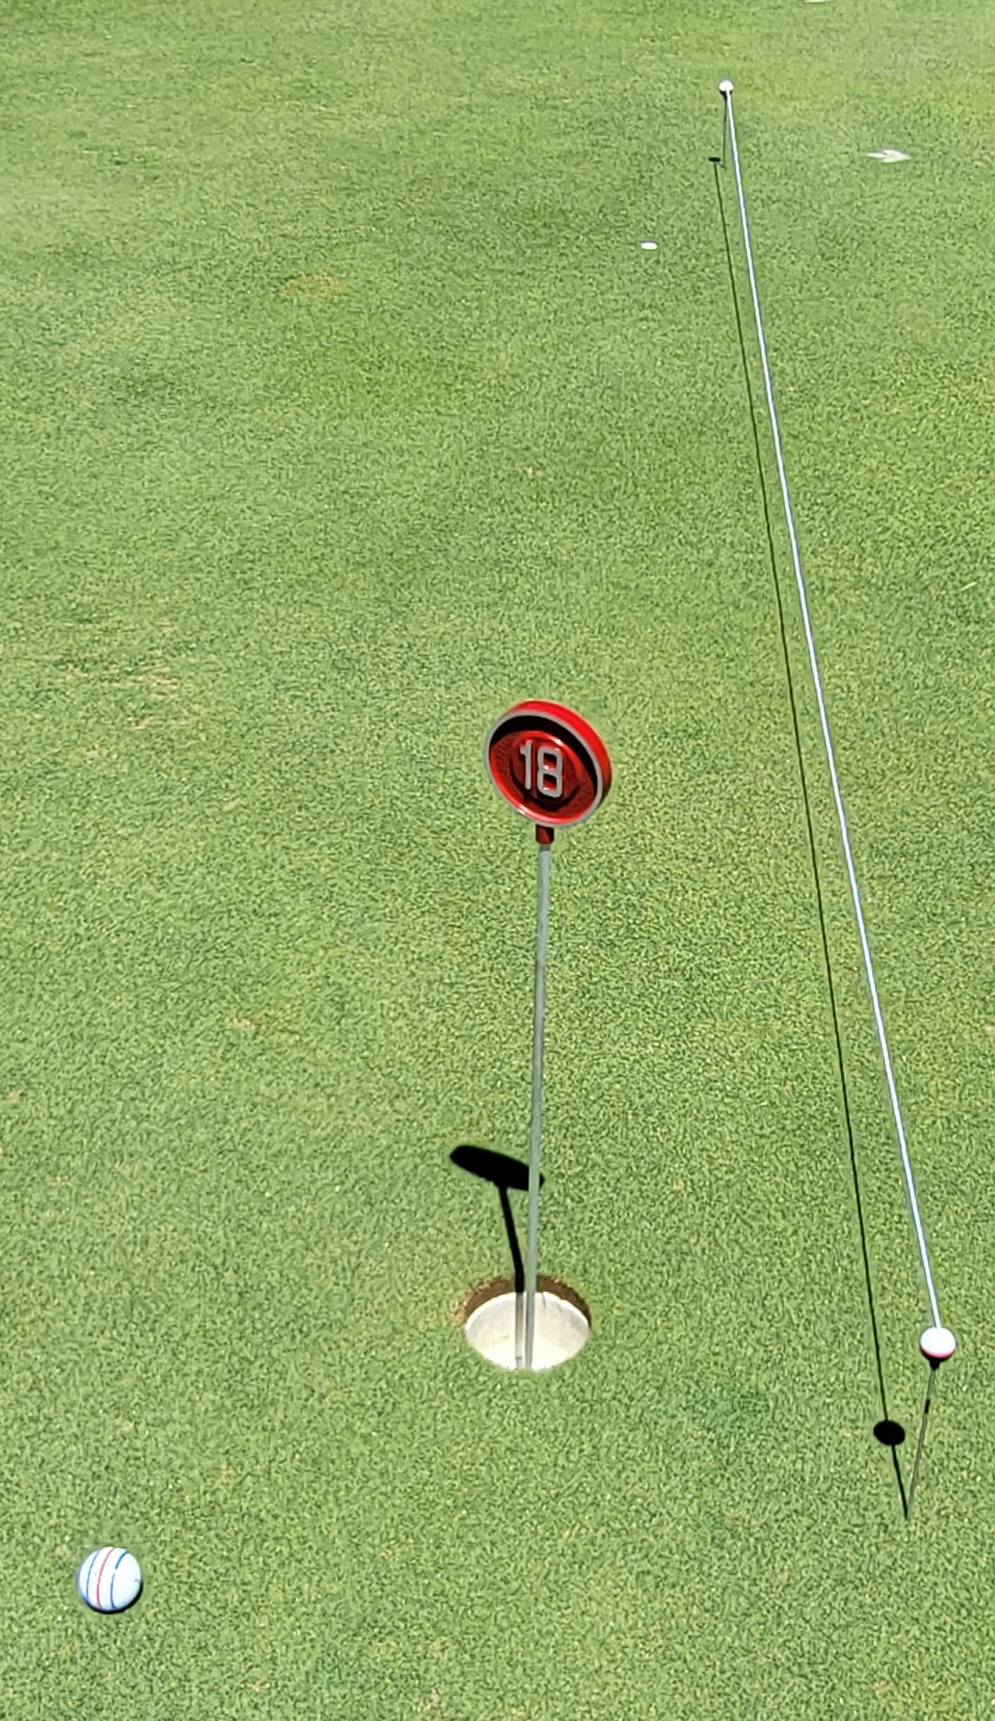
This is a green reading error
Adjusting your read
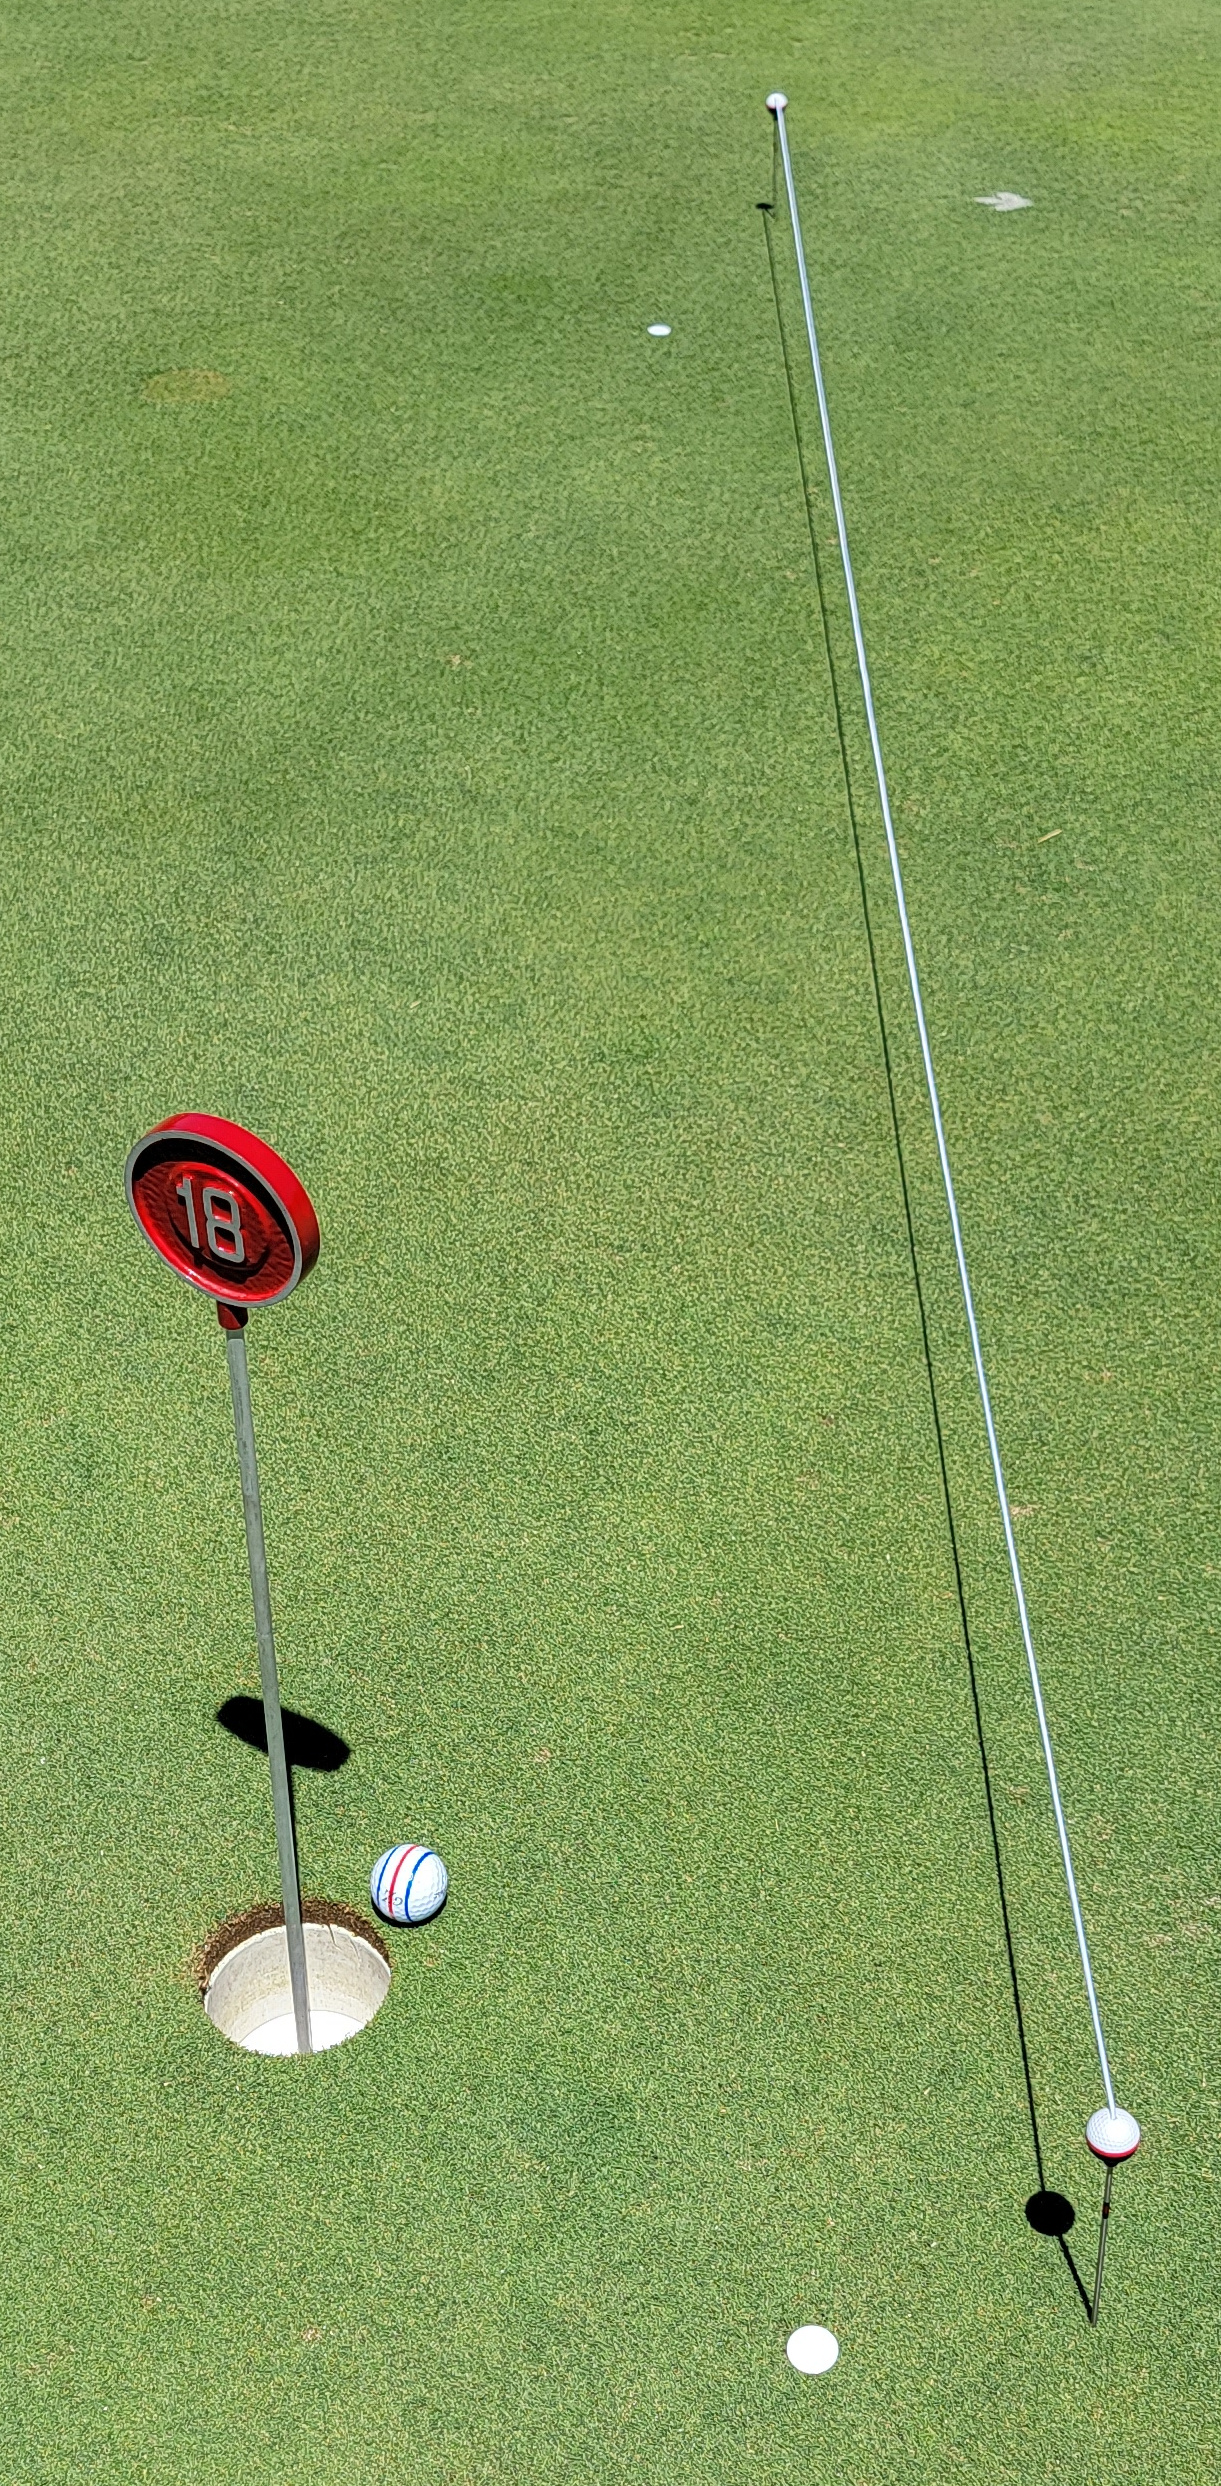
This image shows the aim line moved farther outside the hole. I’ve marked the original placement with a ball marker so I can tell how far my read was off. The ball is going into the hole at the entry point and the lines on the ball are vertical.
This all tells me my putter face was square, the pace was correct and the read was right on.
If missing the read by this amount is your tendency, you may want to take that knowledge to the course. Play a little extra break.
Mirror and Gate Drill
This is a 3 foot or 6 foot drill. I usually set this up on a flat location.
The mirror is to help with your eyeline. The tees are your putter gate and the golf ball gate is 50 mm or 1.97 inches.
The golf ball gate is a pretty tight fit, but will certainly give you more confidence with practice.
Use a lined golf ball. The ball gate should be no more than 12 inches in front of the ball.

Stimp Reading or Green Speed
Not everyone has a true roller, stimp meter or The Perfect Putter.
The quick answer is ask at the pro shop. What is stimp reading for your greens?
Another option for judging green speed is to know how far your putts travel.
For example, I have two putter head widths between my feet when I putt. If I take the putter back to the middle of my stance, the ball rolls 3 feet, back to my right shoe the ball rolls 6 feet and just past my back foot the ball rolls 10 feet.
That’s on a green with an 11 stimp reading.
Obviously, my setup may not work for you. It’s important to develop a routine that allows you to measure how far back you take the putter. Then how far the ball rolls in turn.
So, if you are taking a few putts before you play somewhere and your 6 footers are going 10 feet, the stimp is most likely faster.
I like putting across the green to the edge or fringe with several balls to judge long putts.
It’s a good idea to putt uphill and downhill before a round as well.
The Perfect Putter
The images below explain measuring the stimp reading with a device.
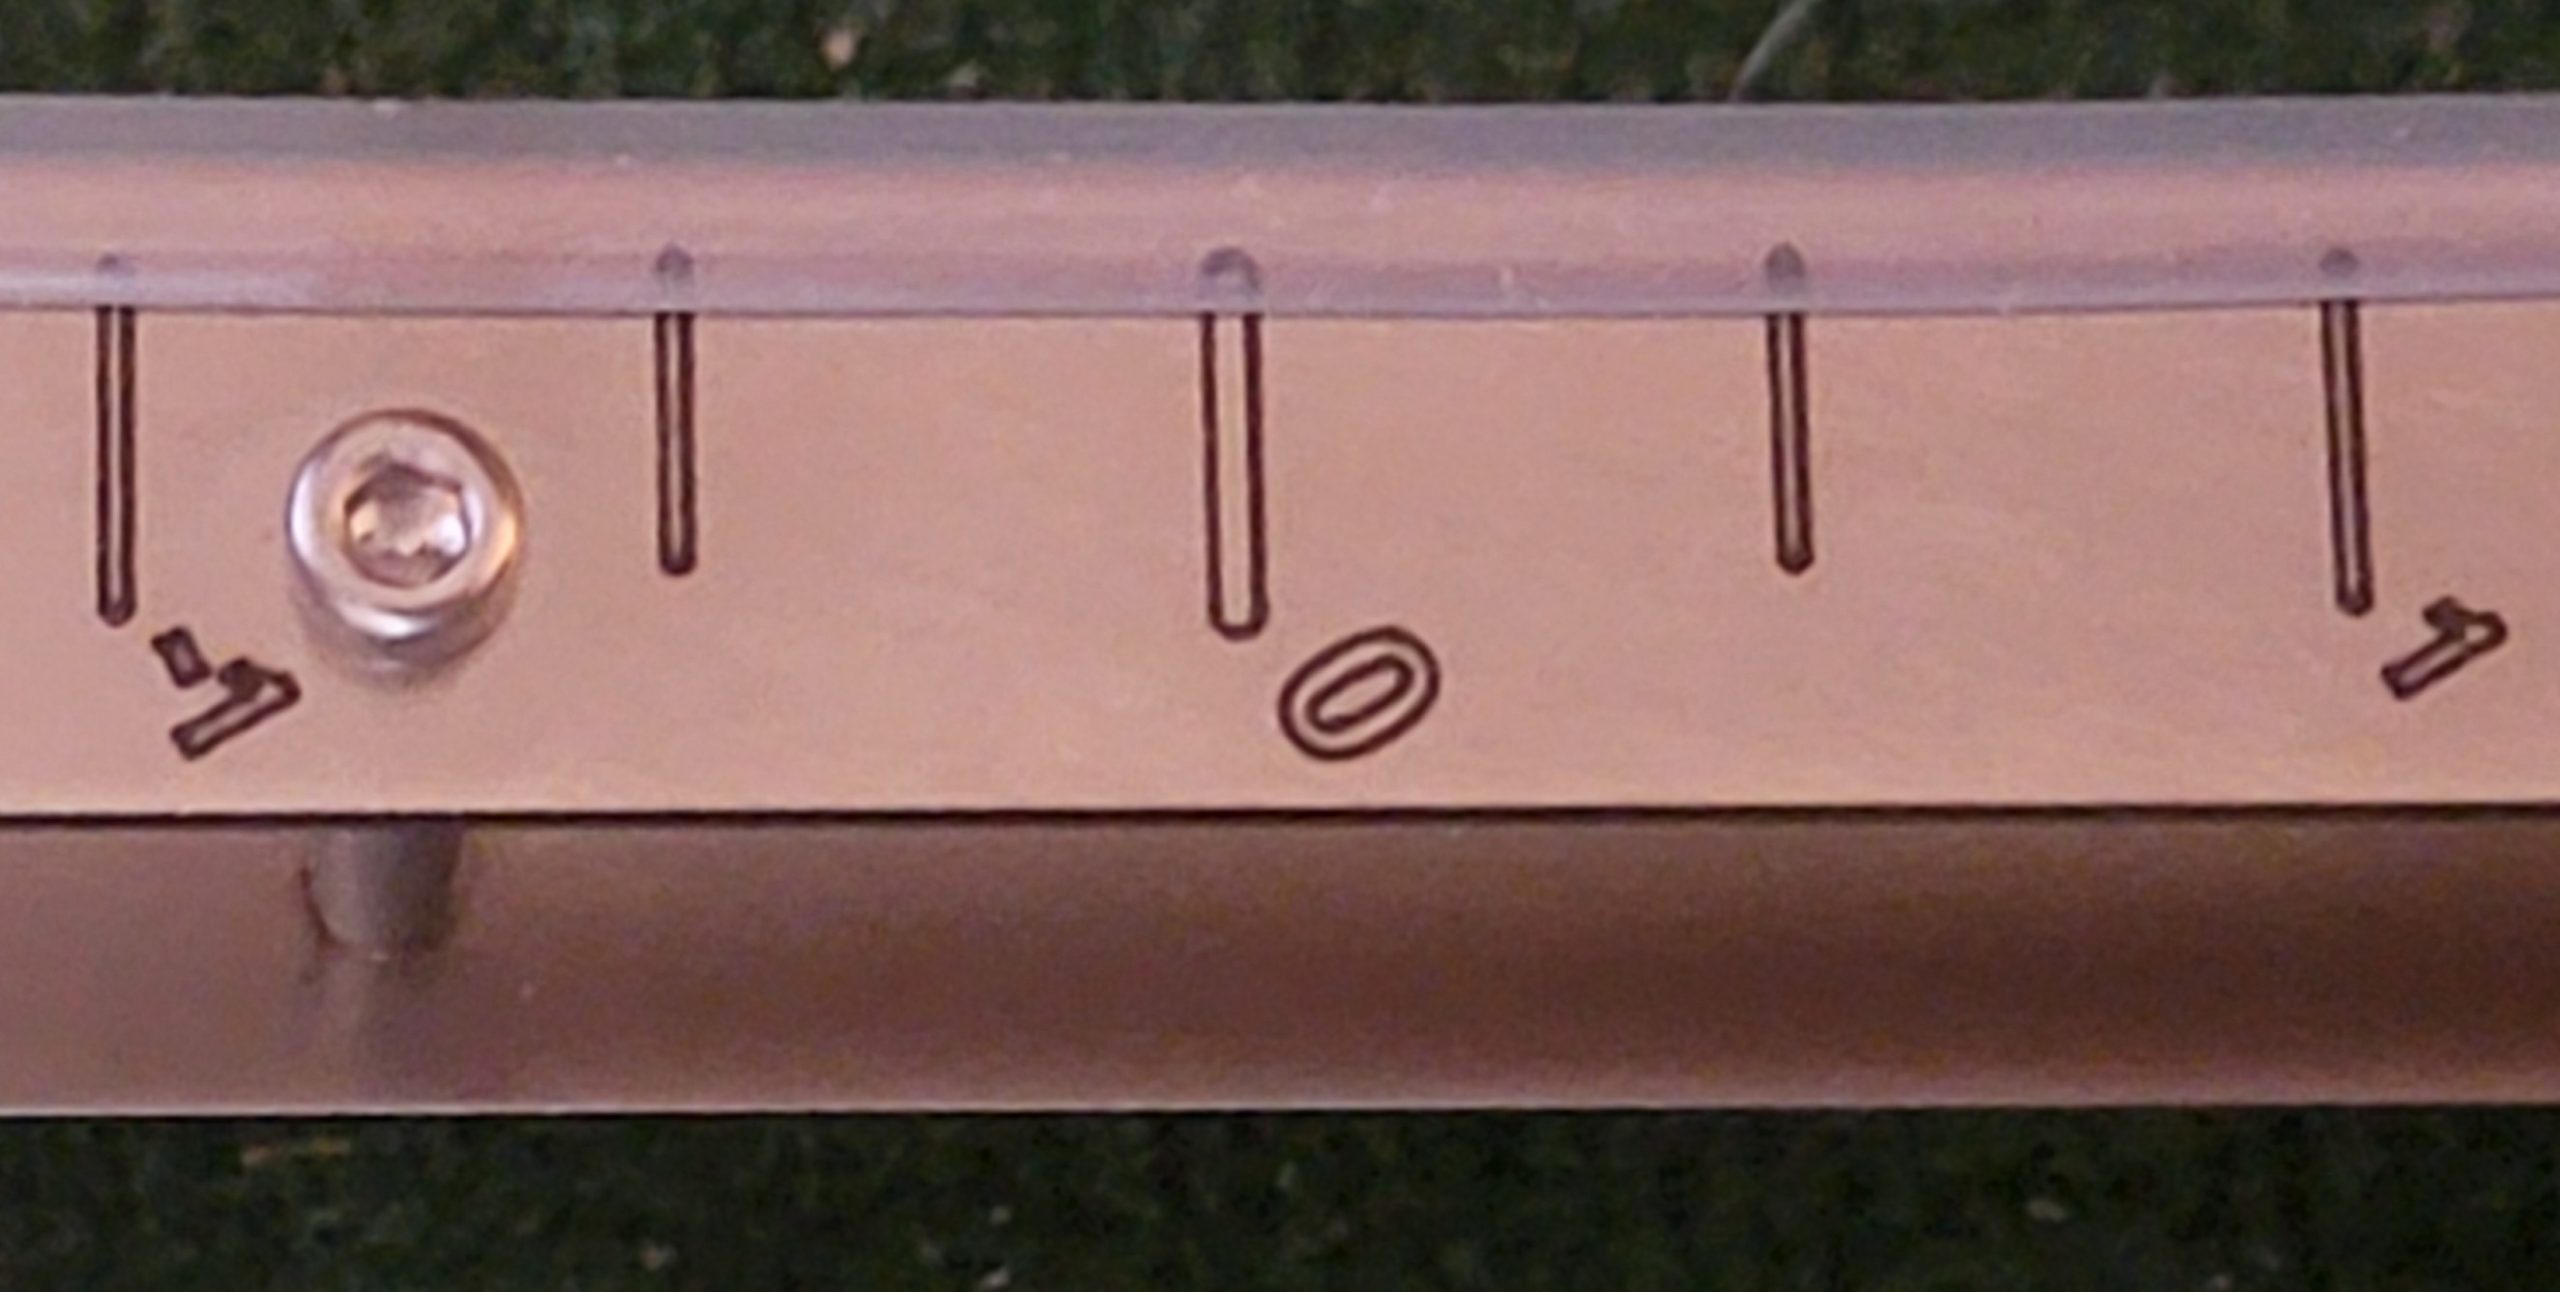
Rolling the ball down it from ZERO
lets your measure the stimp reading
To measure the stimp reading you need to roll 3 golf balls on a relatively flat surface of the green.
You roll 3 in one direction and measure the distance they roll. Then you move the device and roll 3 the other way to double check to distance. They should be the same.
To speed things up… This is an image of just the second roll. Note that I’ve already marked the near end with a ball marker.
Then I rolled three balls the other way. They are pretty close to my start point on the other end.
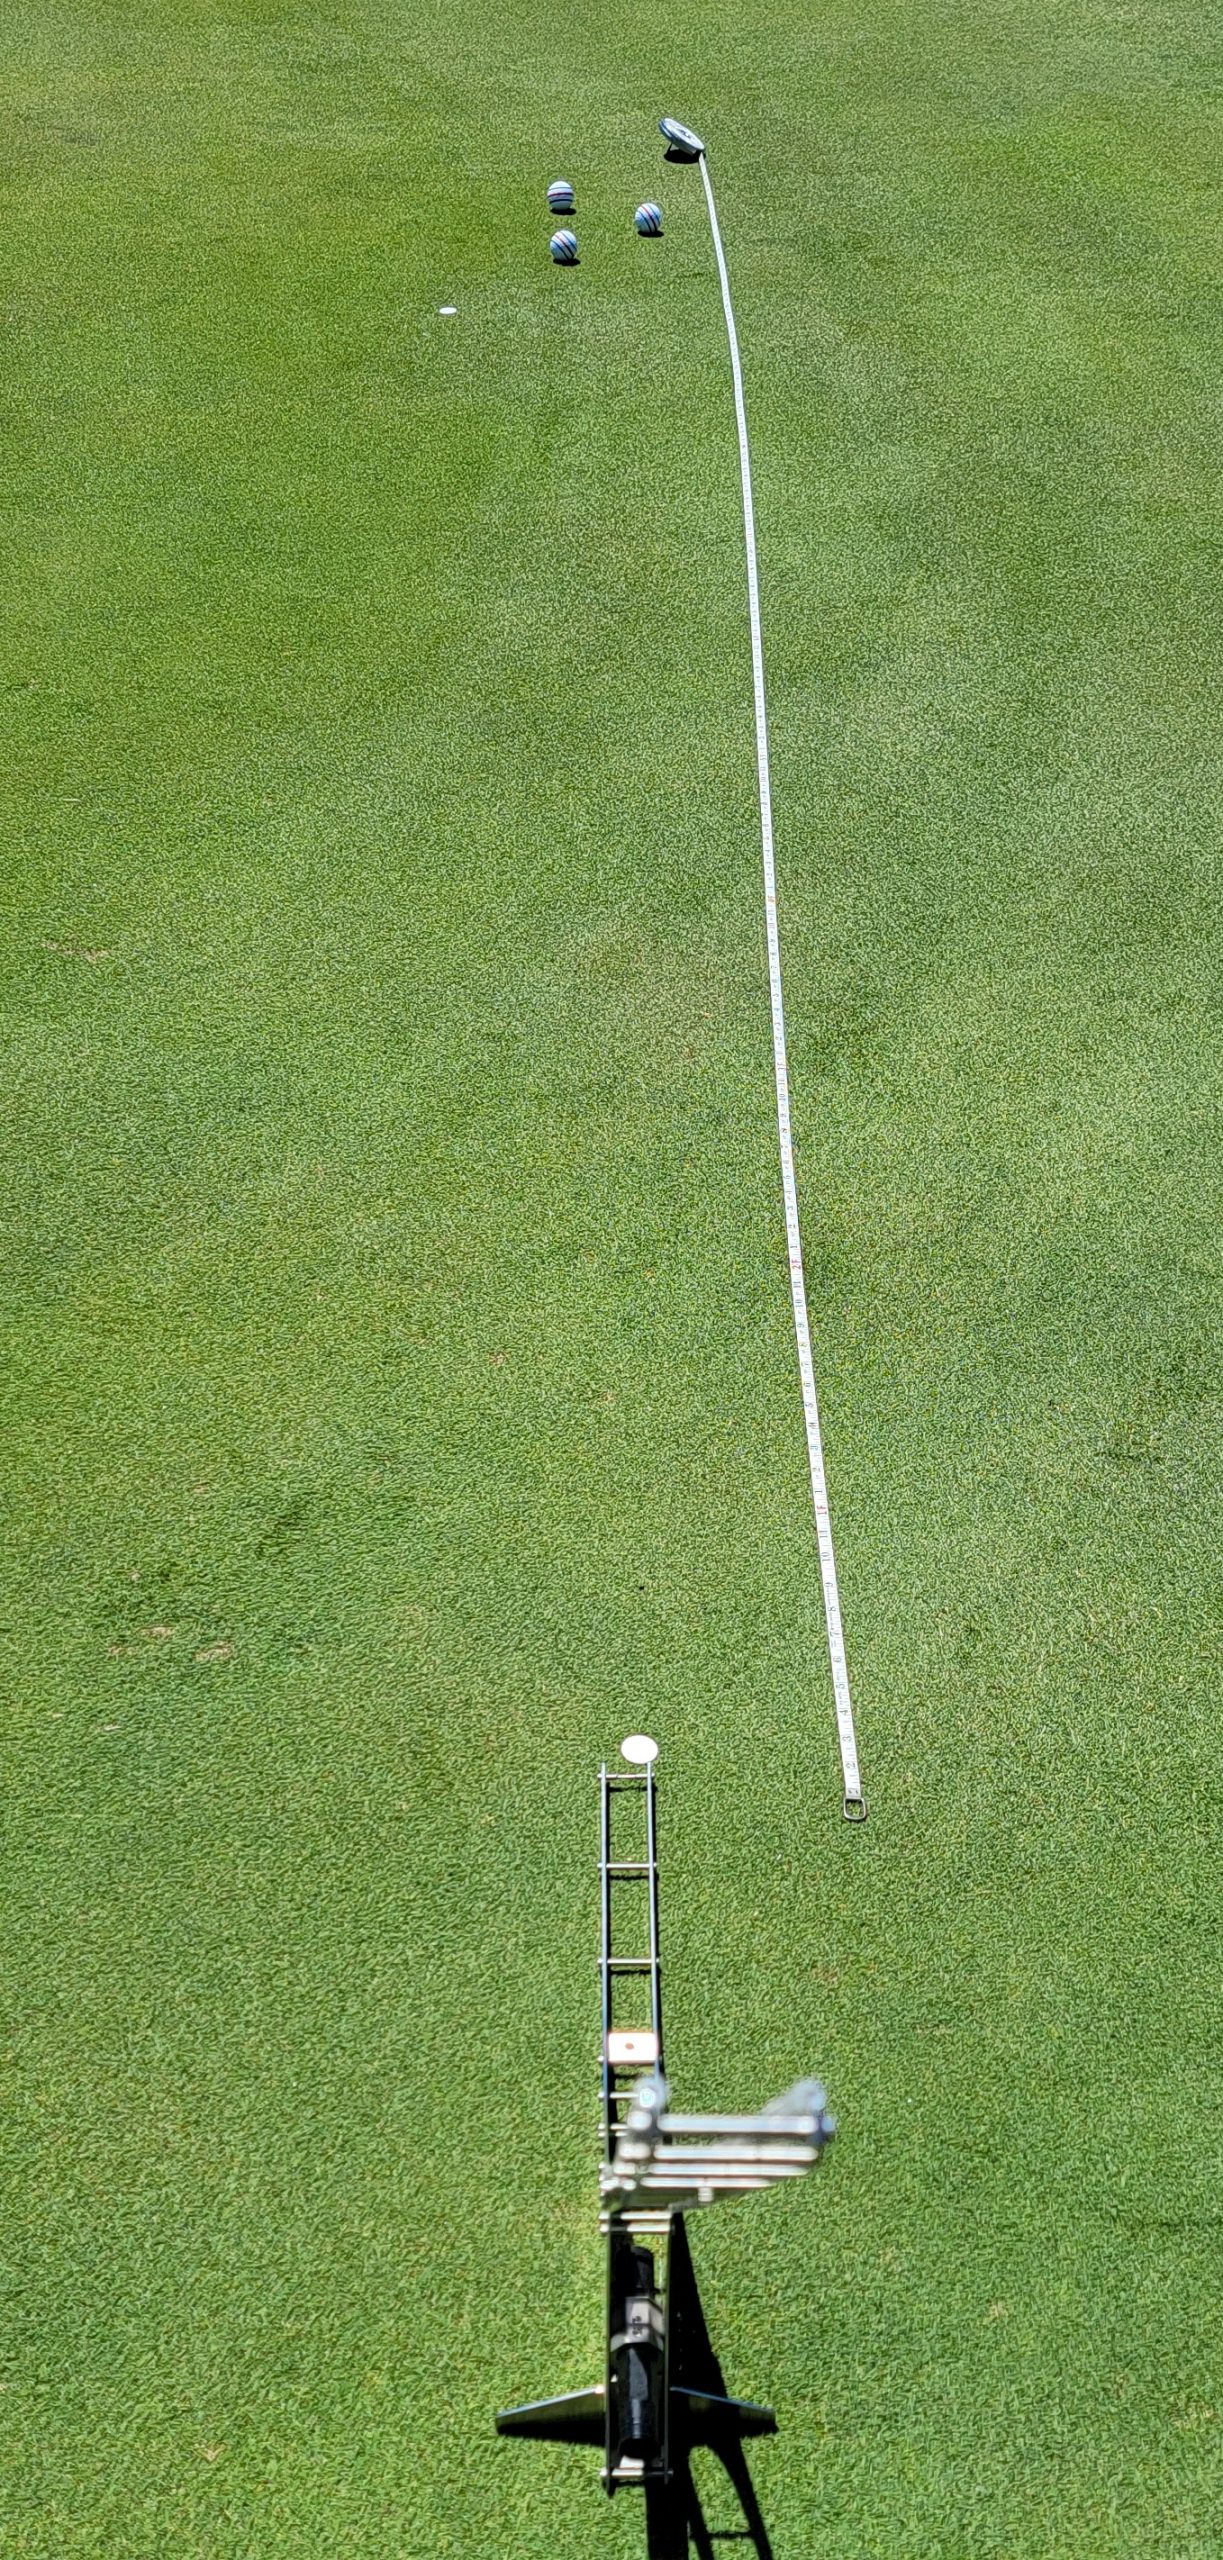
This image shows the second roll has all three balls around the 11 foot mark. The balls rolled around 11 feet in both directions meaning the stimp reading is 11.
A stimp reading of 10 is pretty normal and 11 may get your attention. Faster than that is unusual for normal play.
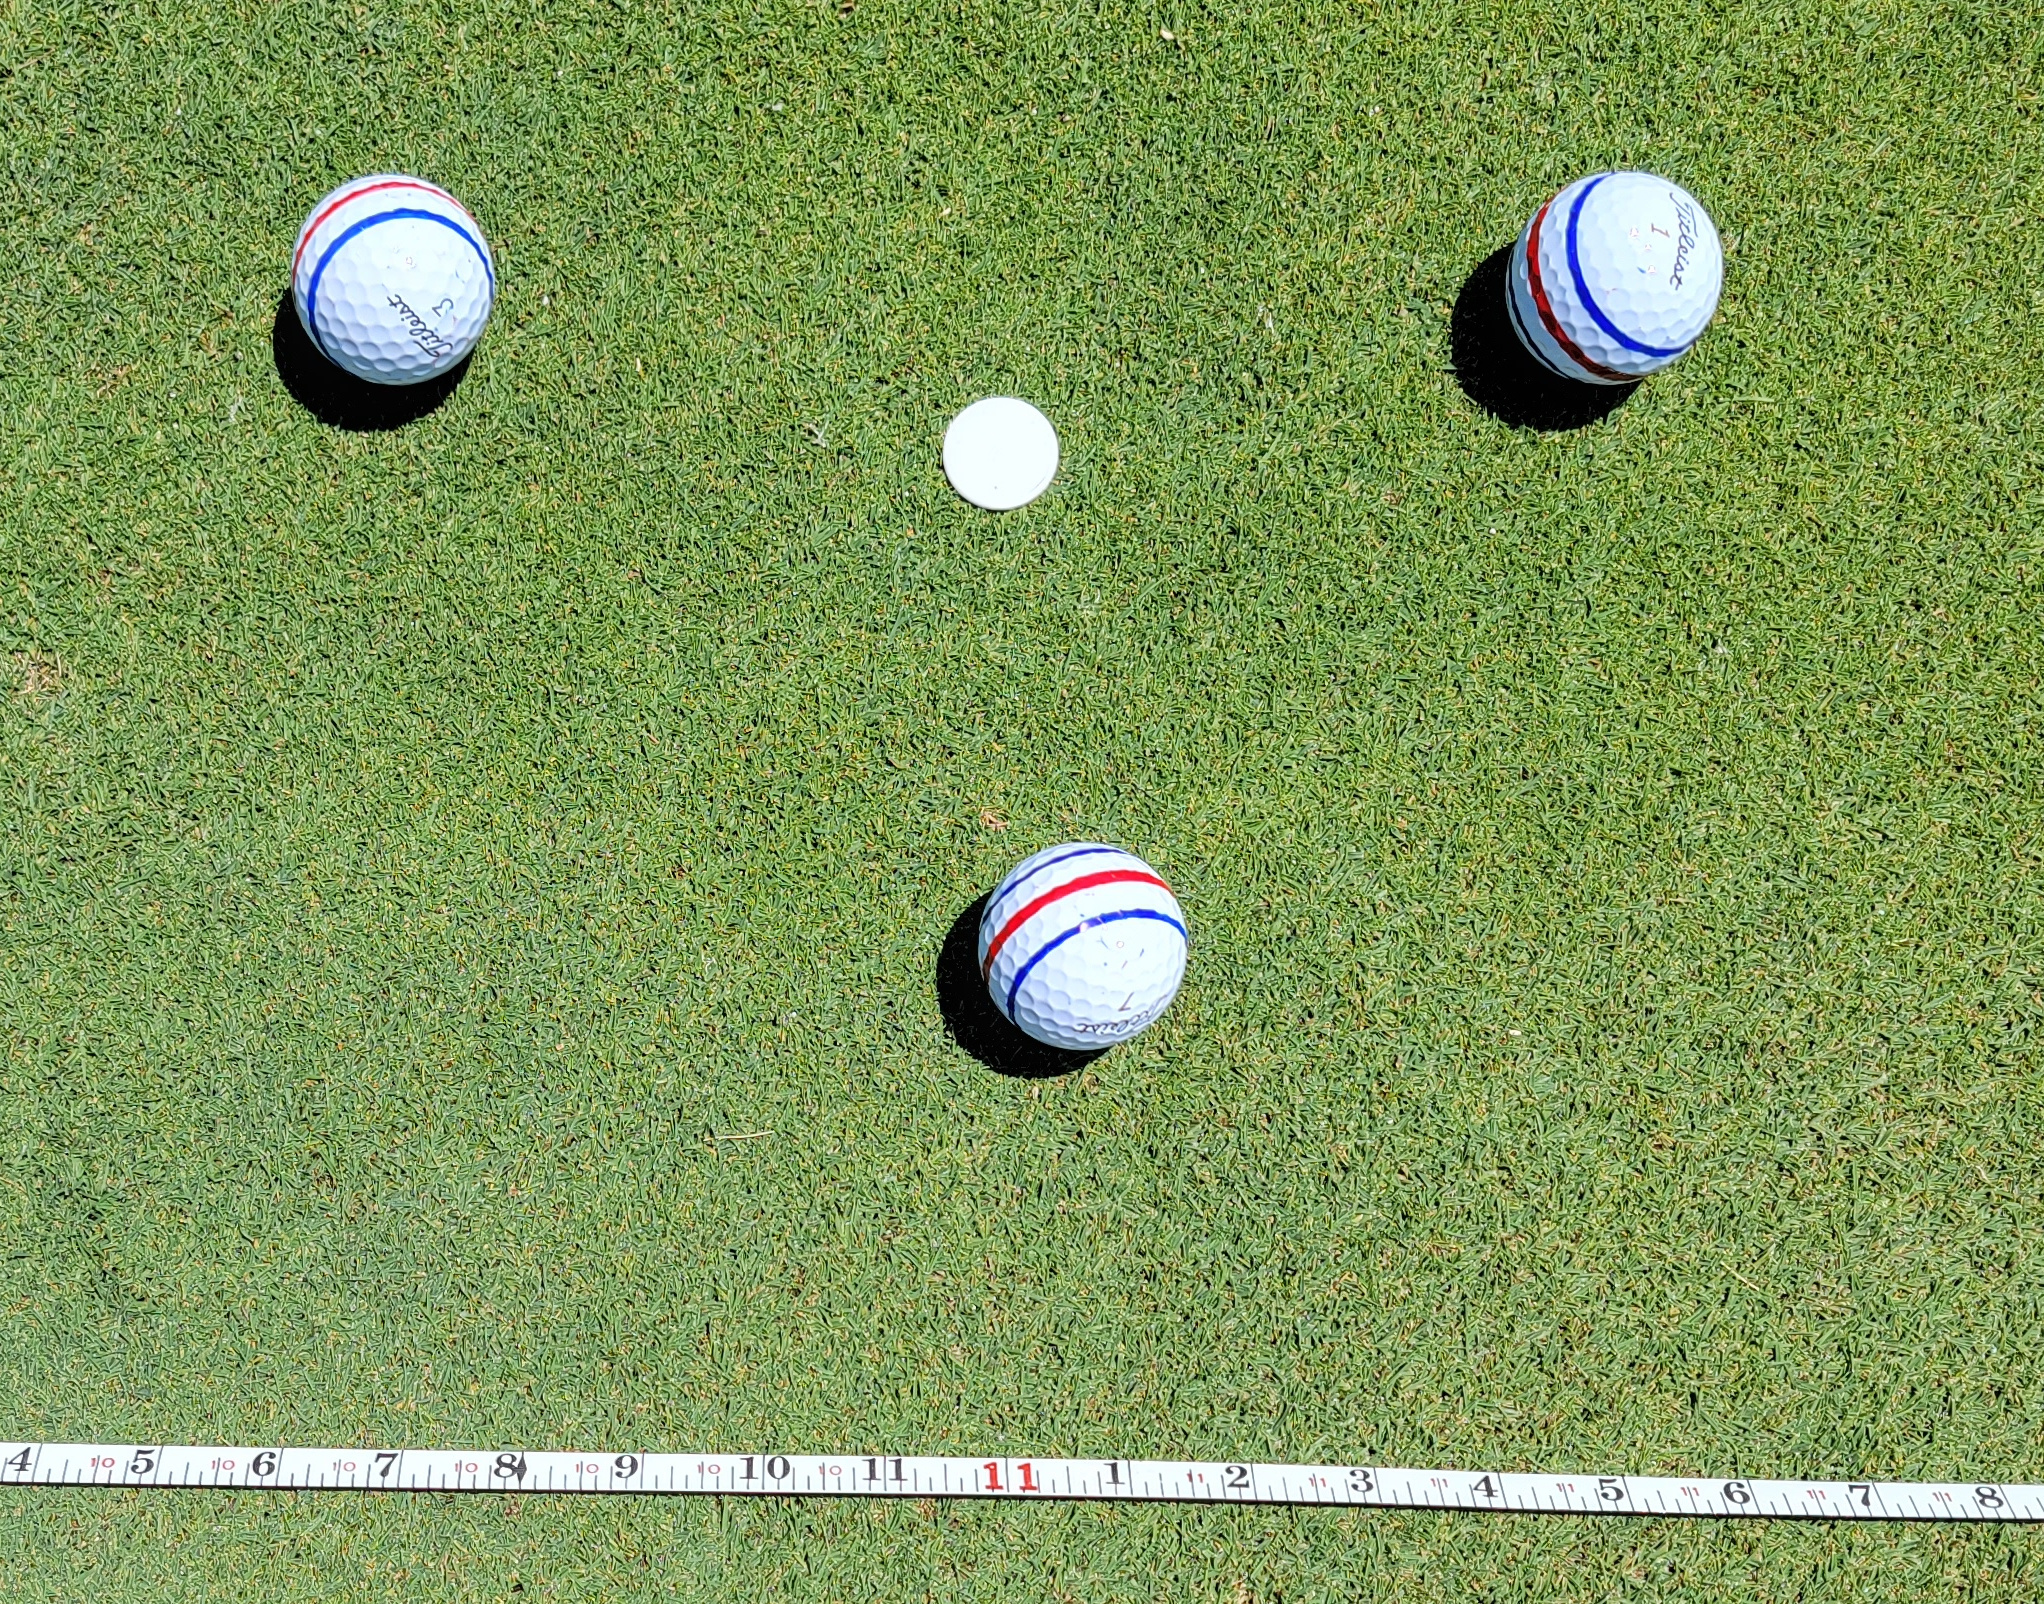
9 or 10 is pretty normal
